The Road Home

The Road Home
There is no place like home.
Showing posts with label lard. Show all posts

Wednesday, May 13, 2015

Getting Ready For Pigs

We spent part of today getting ready for the arrival of our American Guinea Hog piglets. The original plans included doing some of this work yesterday while the sun shined, but a relative's unscheduled hospital stay, changed our plans. We were glad we had the opportunity to visit him for a while. So today before the rains arrived again, we rearranged some of the goats, brush hogged down some wet, wet, tall grass and weeds, and got ready for the pigs. Well, not really before it rained, because we got some light showers shortly before dawn. Thus, the grass was extra wet, but sometimes these things just can't be helped, and you make do with the circumstances you've been given.

American Guinea Hogs. I had never heard of them until I read an article from Leigh at 5 Acres and a Dream last June. I had no idea a pig could grow so small. That is what captured my attention and started a slow,
gradual bit of research that has landed us in the current predicament, the adventure of becoming not only goat herders and chicken cluckers, but pig farmers as well. We can only pray it is not the misadventures of becoming pig farmers. If you have read here very long you have probably run across a statement from me saying something like this. "I hate pigs." And I did. I just hope I don't anymore. Part of that sentiment is because I am afraid of pigs. I think they will bite me. It's kind of like being afraid of dogs. It's just a fear that I have decided I want to get over, because the benefits of raising American Guinea Hogs can far outweigh this fear.

I am including a number of links throughout this article so you can see where my research has taken me. The first thing that captured my attention when reading Leigh's description of her new pig was that they only grow to be about 200 to 250 pounds full grown, even the boars. I was very surprised. I had never seen anything about pigs being less than 800 to 1000 pounds or more full grown, and I didn't want anything to do with animals that large. So I read the link she provided and thought it was very interesting that these pigs are naturally small. They aren't miniatures, dwarfs or midgets of any sort, they are just naturally smaller than most commercial pigs.

Then I started looking up more articles, and found that another characteristic of these pigs is their docile, friendly nature. Well now, how is
a person that is afraid a pig is going to bite them going to handle a pig that wants to run over and be petted and scratched? I've decided I'm going to treat them like a dog. Sounds funny, doesn't it? But if a dog does something that is unacceptable they get corrected and trained to exhibit behavior that is acceptable. I plan, or hope, to do the same things with the pigs. I've read that they may try to jump up on you like a dog, but are easily trained not to, so their friendly personalities are another plus.

The next major plus from my perspective is that these pigs thrive on pasture and do poorly if they are confined and only fed grain, or fed too much grain. That's great! We have been trying to produce more and more of our animal feed, and if these pigs are healthier and happier grazing in
a pasture, then wonderful, we have plenty of room for them to graze and grow. Another example Leigh has given me is that she feeds very little grain, and what she does feed, she sprinkles on the ground for the pigs to forage and root. I thought that was a great idea and will be doing the same. I will also now have another bucket to take to the barn at feeding time. The pigs will get whey from our cheese making projects as well as garden scraps and other kitchen waste. For instance. Today at lunch I emptied a jar of beets, and told Frank that after the pigs arrive the water from the beet jar will go into the pig bucket instead of down the drain. They will get all of the scraps that don't go to the chickens or dog, and that will be great.

When I realized how small these pigs grow, I like to think of them as small, even though a 200 pound animal isn't really very small, I thought about having another source of meat on the hoof. That's how I think of our
goat wethers. They are just meat walking around in the pasture waiting to make it into the freezer. Frank and I can handle butchering a 150 to 200 pound pig, and it would be another great source of meat. But not only that, Guinea Hogs are well known for the quality of their lard, like some old heritage breeds used to be. These hogs will not only provide us with meat and lard, they don't require a lot of feed to do so. The lard will provide us with a natural cooking oil, and we hopefully will also be able to use it in our goat milk soap recipe. The smaller carcass of these pigs will mean less meat to preserve before spoilage if we live in a grid down situation, as well. Just like with our goats, I view a smaller carcass to be to our advantage.
 
The breeders in the area that I have talked to all agree that these pigs are healthy, friendly, easy to manage and very productive. They don't require vaccinations or worming, even in our area that is known for wet years that are very conducive to the worm population, like this year. Guinea hogs will have litters of six to eight piglets about three times every two years on average, according to my research. This is yet another benefit to raising this small, heritage breed pig.

These are the reasons why we are embarking on the adventure of adding pigs to our homestead. These animals don't grow very large, they thrive on pasture, they are naturally healthy, friendly and easy to manage, the meat and lard are well known to be of excellent quality and we will be able to butcher them ourselves. A concern I have, and will for a while, is if they will stay in their pasture. Our fencing should hold them just fine according to all I have read, but this is my biggest concern so far. We'll see if more arise after their arrival.

Friday, if the weather cooperates, we will be bringing home two boars and one gilt. This is new vocabulary for us. I had this vague notion that a male pig was a boar because you hear of wild boars being hunted in these
parts, but that was about it for my pig vocabulary. One of these boars will become a barrow when we have it castrated to raise for meat. We will keep them both intact for a while until we decide which one we want to keep for a boar. The gilt, or young female, will become a sow when she has her first piglets. We have debated back and forth about whether to get one gilt or two, and actually thought we had been able to line up two boars and two gilts that we could pick up all in one trip from two different locations. Then when I called to make the arrangements, I found that one of the gilts had been injured, so there was only one available. I don't know if you ever have these feelings, but I felt like that was an answer to our question. God answered our question by only having one available for us at this time. It's interesting how things happen sometimes.


I hope to have a report for you Friday or Saturday, with pictures and hopefully no mishaps. I freely admit we are entering this adventure with a little trepidation and doubt, especially on Frank's part, but entering it we are. Fear is a powerful thing. It can control nations, it can preclude success, it can tear down dreams. But only if you let it. There is a quote somewhere that says something like, courage is fear in action. Maybe that would be a good name for a pig...... I wonder what the goats and Pearl are going to think. That should be interesting.

Until next time - Fern

Wednesday, February 18, 2015

Preparing to Make Soap

We have wanted to make soap for over 20 years. It appears that this dream will finally be coming true very soon, and we are both very excited. In preparation for this venture, we have done a lot of research. This research resulted in a list of things we needed to be able to successfully and safely make soap. Over the past several weeks we have gradually accumulated those things we need, and now it is just a matter of time, and I will admit, courage. 

In compiling information about making soap, I have read numerous websites and a couple of books. I want to link a few sites that provided some very useful information. Some of them deal with lye, and some outline the techniques used during the process.

One of the first things you will read on any site is how important it is to handle lye in a safe manner. And rightly so. Here is a video  that specifically deals with handling lye safely.

One of the difficulties I had in my research is finding a recipe and appropriate techniques that match the ingredients we are going to use. You see, our soap will only have three ingredients: goat milk, lard and lye. That's it. There are a gazillion sites that make soap, but the vast, vast majority of them use other oils, liquids and fragrances. We're not. Why? For a couple of reasons. One, if we are going to make soap, we want
it to be as pure and simple as possible. Two, if need be, we will be able to produce these three ingredients ourselves. We will be getting the milk from our goats. We plan to be able to render our own lard from the pigs that will be arriving here in the next few months. For now, we are using store bought lard. We can also make lye from wood ashes, but again, we are using purchased, food grade lye for now. And speaking of wood ashes and lye, I found this video to be really fascinating. We have read many things about making lye water, then using it to make soap, but my question has always been, how do you know how strong your lye is? I know you can float an egg or potato just right, but lye is a caustic and I'm not sure I would trust my skin to this technique. This video gave us a different option. Instead of lye water, make lye crystals.

I'm going to list some other videos and sites that I used to learn about the steps for making soap, even though none of them use the recipe we are going to try, I still learned a lot from them.

  • This is the first video I watched on actually making soap, and it is very informative. Becky uses water instead of milk, but this is a basic lard soap. She also uses the lard she rendered from her own pigs.

Once we completed all of this research, we realized there was some equipment we needed to get before we could dive in making soap. I had one book on making soap that I have probably had for more than 20 years, that's how long we've had this in mind. I ended up ordering two more books, but they are mostly geared to recipes that don't involve goat milk and do involve a lot of other ingredients we are not going to use. 

We already had some aprons and rubber gloves on hand. And I have a number of thermometers I have accumulated for making cheese. We decided to acquire what I call a point and shoot thermometer that can be used for soap or people.

We have a manual scale that is used to weigh out produce for canning. But the emphasis on being able to weigh out soap ingredients to the ounce, prompted us to invest in a digital scale that can be easily zeroed out after your bowl or container is placed upon it.

Then there was the question of mixing the oils, milk and lye until it comes to trace. Trace, a new vocabulary word for us. We'll get into that much more throughout the process. Most folks I read or watched used a stick blender or mixer. Everyone had the admonition of not running the mixer too long so the motor wouldn't overheat or burn out. Well, we don't have a stick blender, and really didn't see a need for one. Instead we searched for a while and found a mixer whip that would fit in the chuck of an electric hand drill, in this case battery operated. Sound funny? It probably is, but it is what we are going to use. I think it will be more durable, and we won't worry about it overheating or burning out. And if the battery dies before the soap goes to trace, we have extras that we can use. We ordered a couple of different types of whisks, whips and beaters to try in the drill. I'm sure once we make the first batch of soap, we will figure out which one works the best. 

I have seen where some people use plastic to mix their ingredients and some use stainless steel. Most will tell you to only use soap equipment to make soap and nothing else. The first video I watched where the lye and water were mixed in an old butter tub surprised me. Especially when they discussed how hot the liquid will get when it interacts with the lye.
My question was, what keeps the chemicals in the plastic from leaching into the lye solution? If the temperature of the mixture gets really hot, won't that release some of the chemicals of the plastic? And, since lye is a very caustic substance that will pit the surface of the plastic, won't that release some of the chemicals of the plastic? I didn't find any definitive answers to these questions, but they have lead us to use stainless steel. We had these two extra 13 quart bowls in storage waiting for something to come along, and think they will work fine. I had also purchased some silicone spatulas a while back to replace the rubber ones I'm using now when they wear out, so now they will be assigned soap making duties.

We debated and thought long and hard about soap molds. There are a million and one different molds out there people use. Specialty shops sell all kinds of molds, and some folks use cardboard boxes with a trash bag liner. Silicone seems to be a favorite of many folks, and we ordered one loaf pan just to see how it does. We're also going to line a regular loaf pan and see how it works as well. I seldom use this loaf pans anymore since I started using cast iron loaf pans for bread, so this pan has been volunteered for the job.

There is also a wide variety of mechanisms used to cut the soap into bars. Some contraptions are quite sophisticated, some use a wide cutter blade specifically made for cutting soap, and some are as simple as a knife. We are going to try out this cleaver and see how it works.

As you can see, it has taken time and effort to research and acquire the needed materials and equipment for this project. We have already learned a tremendous amount and we haven't even started making soap yet. I have the distinct feeling that the learning has just begun. And you know what? I'm glad. It's great to learn something totally new and be so much closer to another dream come true. We don't know anyone that has ever made soap from only goat milk, lard and lye. I can only think of one person I know that has ever made soap period. Just like most other things in our lives, what we know and do, we basically teach ourselves. This time we have the blessing of the internet which has allowed us to do a lot of research, and even watch videos of demonstrations. 


Our next soap post will be a demonstration of our first attempt. We will cover much more detail about the equipment we use, and especially the safety aspects involved in making soap. Never take safety for granted. I know there are a lot of folks out there that have been making soap for years. Any advice you can share before we get started will be greatly appreciated. Keep in mind, we are set on our ingredients. I know there are many other things that can be added to soap and for good reasons. But we want to make a soap that can be replicated in a sustainable fashion if we can never order or buy anything else besides what we can raise and make on our own. It is another giant step for our continued sustainable life style. And we're excited!

Until next time - Fern
 

Monday, January 19, 2015

How Did It Work Out? Some Updates & Things

You know how it is when you read about someone trying something new, but never hear how it worked out? It can leave you wondering if it was a success or a flop. So I thought I would let you know about a few projects we've written about recently.

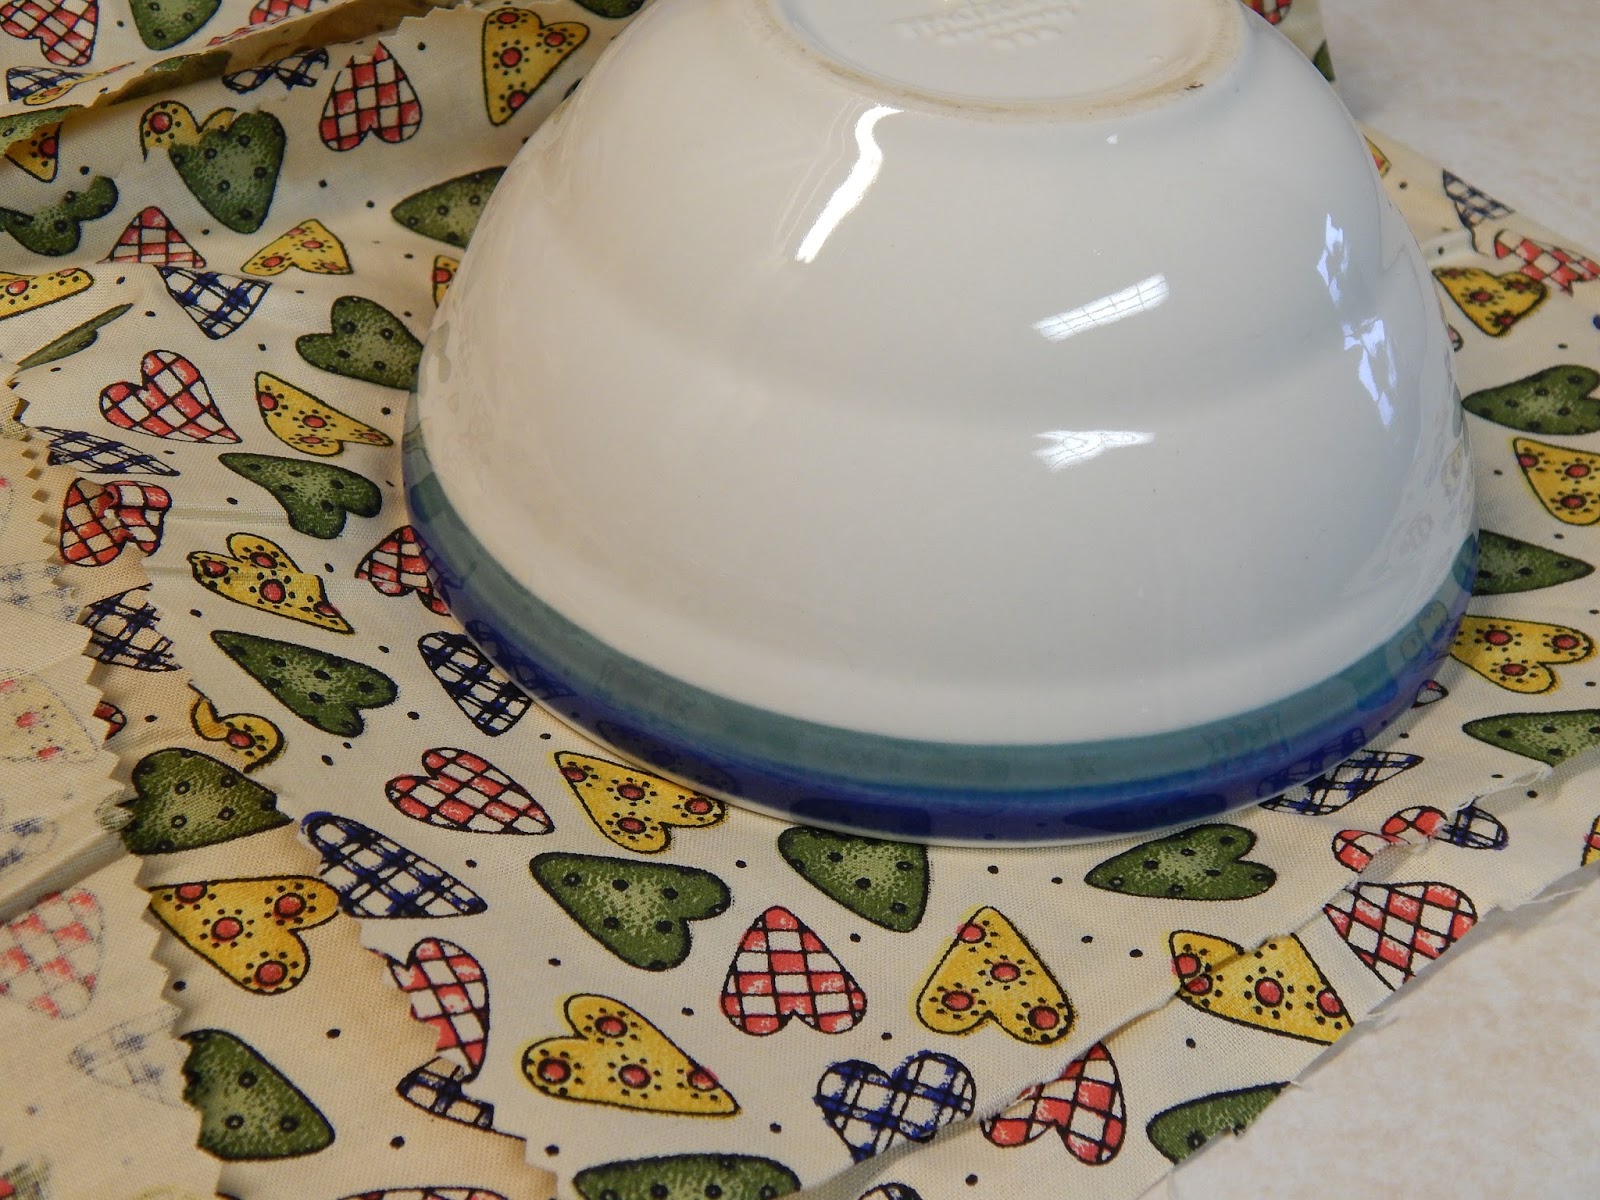
First up are the reusable food wraps. I love them. They work great on bowls of stuff. I have yet to try wrapping food in them without using a bowl, but my main goal was a way to cover bowls of things in the frig without using plastic wrap or a plastic lid. I've used them to cover fish, ground meat, coleslaw, onions, herb cheese, and I don't remember what else. The first time I put it over
a bowl of salmon I really wondered if the wrap would stink. Nope. It still smelled like beeswax. The next stinky test was the onion. I was glad to find out that the wrap will not absorb the odor of the food item it is covering. Clean up is an easy rinse with lukewarm water, dry thoroughly, fold up and store for next time. I'm glad I made the smaller wraps while I had the beeswax out making lip balm. I use these smaller wraps the most.

They do get creases where they are bent or folded, and I haven't done anything to cover them up yet. But, from what I have read, you can use hot water and your hands to smooth out the wax on either side of the crease and cover it back up. I am very happy to be using something besides plastic lids or plastic wrap. These appear to be very durable, are quick and easy to make, and are made with more natural products than plastic.

Next, are the reusable panty liners. I am still very pleased with the design I came up with. They are effective for my use, comfortable, easy to make and care for. I haven't made any more yet, we have been doing a major clean up and organizing task. But I will make about a dozen more before long, probably on one of the next cold, yucky winter days. If you have a sewing machine and a need, I would highly recommend making your own. If not, there are many vendors that make a good, quality products. It's an easy way to eliminate the many detrimental chemicals that are so easily absorbed by women's bodies.

The lip balm we made is great. We really like knowing exactly what we are using, and again, eliminating more chemicals from our daily routine. I have used Carmex, and Frank Chapstick, for many years. One thing I found out when I switched to our lip balm is that I seemed to have a kind of withdrawal. I know, withdrawal from Carmex? I never considered it before we switched to our lip balm. My lips got pretty chapped for about 10 days. During that time we had some really cold weather with strong north winds that may have contributed some, but I really think most of it had to do with a Carmex 'withdrawal' period. It didn't occur to me at first, but as time went by, I began to notice an improvement. So, at first, I used our lip balm many times a day to deal with the chapped lips. Now, I only use it a few times, similar to how I used the Carmex. We are both very pleased. I have infused some olive oil with lemon balm and peppermint that I picked from the herb bed for our next batch. We'll let you know how that goes.

One thing I have not written about, nor did I take any pictures of the process, was the simple lotion I made. It is only beeswax, olive oil and herbal tea made from some of the lemon balm and peppermint I picked. Very simple. The recipe called for mixing with a blender, which I do not have, so I used a slotted spoon. Obviously, the spoon did not do the mixing job a blender would do, and sometimes there is a couple of droplets of water on top of the lotion. But it doesn't bother us at all. We really like this lotion. I will take pictures and write about the next batch. I'm going to try using the KitchenAid with the whipping hook on it to see if it will mix it up better.

When I first started using the lotion, I only used it on my hands. My skin is very sensitive to a lot of things. For many, many years the only hand lotion I could use is the original, plain Vaseline Intensive Care. It's a good lotion and worked fine. I cannot use any soap or cleansers on my face at all. They break me out in fine little red bumps. So, I wash my face with water and use Eucerin lotion and nothing else. But, after I used our lotion on my hands and it didn't break them out, I tried it on my arms for a few days. That went okay, so after about a week I got brave and tried it on my face. No little red bumps. I was very happy. But the same kind of dried out reaction happened to my hands, arms and face that happened to my lips. I wondered if it was the quality of moisturizing components of our lotion compared to the chemicalized store bought version. You know, those chemicals we can't pronounce? Things like isopropyl myristate, PEG-40 sorbitan perolrate, glyceryl lanolate, sorbitol, propylene glycol, cetyl palmitate, stearic acid, magnesium sulfate, aluminum stearate, lanolin alcohol, BHT, methychloroisothiazolinone, and methylisothiazolinone. I have no idea what these ingredients are, or what they do to my body. But, you know what? I really think our bodies are so accustomed to, and almost addicted to, all of the chemicals we put on them every single day, that we have withdrawals. When I first thought of that, I thought it sounded kind of weird, but the longer I used our non-chemicalized products, the more I think it is true. I have long considered these two lotions to be good quality products, but until now, I have never read the ingredients. Or tried to, anyway.

Now, I know that the olive oil I have is processed. And the beeswax is processed. And the lard we bought to use in the lip balm has preservatives in it and the pigs it came from were fed highly chemicalized feed. But at least we were able to eliminate many of the man made chemicals that are the basic components of lip balm and lotion. That's one more small step we were able to make. We really hope in the near future we will be able to render our own lard and harvest our own beeswax. That will be wonderful.

One of the things we are excited about is making lye soap. We have researched and gathered the necessary ingredients for a basic lye soap. When time allows, and a few other projects are completed, we will give it a try and share the results. We haven't experimented with many projects that could be dangerous to our health, but making lye soap is one of them. Remember, safety first.

We will continue to learn and experiment with eliminating more chemicals from our lives. We really feel that the more naturally we can live now, before we have no choice, the better off we will be. If we can learn how to make our own natural care products with minimal, hopefully renewable ingredients for the most part, then when the stores are empty, we won't miss them as much. Don't slow down and let a life of learning pass you by. There is so much to learn and do, the journey is a never ending process. It will keep you young and ticking.

Until next time - Fern

Friday, January 2, 2015

A Simple Lip Balm With a Rant

Now that I have a nice supply of beeswax, I have been looking into making a few more things I have thought about for years. Just like making reusable food wrap, making this simple lip balm took about 10 minutes
after the needed items were assembled. Ten minutes? Unbelievable to me. This type of endeavor is supposed to be difficult and complicated, that is why we depend on the store to provide all of our needs, right? Well, the more we learn, the more we realize that there are many things that we can now provide for ourselves, and not depend on them. This decreases our dependence and increases our independence, which is one of our goals, as our world spirals more and more out of
control each and every day, right before our eyes. I know you weren't expecting this commentary at the beginning of a lip balm article, but it's just another example of marketing and brainwashing. I can make a very simple lip balm with minimal ingredients that can be acquired locally. That is one more small measure of comfort I can provide when the SHTF. With that said, here is my first effort at making a very simple lip balm.

But, before I get to that, I want to show you how economical it is, and how manufacturers are continuing to decrease the amount of product we receive, while maintaining the prices, in a effort to disguise just how bad inflation has become. If you don't pay attention, you won't notice that you now put much less on your plate for the same amount of money than you could a year ago, or even six short months ago. I know the cost of gasoline at the pump has recently gone down, but it doesn't change the amount of food on your table.

Frank and I have used Carmex and Chapstick for years and years. Well, after we moved here six plus years ago, we started saving the empties. Yes, we are turning into our grandparents and saving all sorts of odd things, but I thought maybe someday I would learn how to make lip balm and refill them with our own stuff. One of the interesting, but irritating things we noticed a while back is how much less the containers are holding than they used to. We ran out much quicker than before. For example.

Older Carmex, current Carmex, our lip balm. Carmex used to be flat on the bottom.

Without further verbal wrangling, here is what I did to make lip balm. I found a great site, The Nerdy Farm Wife, that gave the basics of lip balm with recommended options, but without a lot of fluff. I also obtained a great little eBooklet recently from Leigh at 5 Acres and a Dream titled How To Make An Herbal Salve. It has some great simple recipes that I plan to try now that I've gotten my feet wet with this experiment. We bought a tub of lard recently for our first attempt at making soap. It is another project that is on the list of things to learn. There is some pig fat in the freezer waiting to be rendered, but, for now, we bought the lard. Farm Wife gave me the information I needed to make a very simple lip balm.

First, to gather the needed materials.

Beeswax
Olive oil
Lard
Measuring cup
Pan
Containers


These little containers have a short story. Our friend down the road, Grace, loves garage sales. A while back she found these little containers and brought them to me knowing I wanted to learn to make salves and such. I'm happy to finally be putting them to use, and the smaller ones are just the right size for lip balm. After I finalize my recipe, I will start filling up the old Carmex jars as well. After I gathered the needed ingredients and materials, it was very simple to complete this recipe. I am still amazed. So here goes.


3 tbsp. olive oil
1 tbsp. lard
1 heaping tbsp. beeswax 

That's it!
The lard has almost melted & the beeswax has just started.


Put about two inches of water in the pan, measure ingredients into the measuring cup and place it in the pan with medium heat,  and watch everything melt. This creates a type of simple double boiler. I used a plastic spoon this time because I wasn't sure how difficult it might be to wash off the wax. I have an extra measuring cup just in case I couldn't get this one clean enough, but I washed it immediately after use with hot water and Dawn and it came clean just fine.

After everything was melted and stirred well, I took the cup out of the pan and dried it so it wouldn't drip any water into the mix as I poured it into the containers. Warning, the handle on the measuring cup was hot and I needed to hold it with a towel. I was surprised that this small amount of ingredients filled up four of these small containers. That will last us quite a while.


It only took about 10 minutes for the liquid to totally solidify and be ready to use. The texture in the jar is very similar to Carmex, but feels more oily when applied. Frank and I are very pleased with the outcome, and will let you know how it goes as we use it over time. Now that I have tried this, I plan to infuse some olive oil with peppermint and lemon balm, which are growing out in the herb bed, to put in the next batch.


When I finished this little project, Frank asked me how much it cost to make this much lip balm. I didn't know so I went and looked up the prices and did some figuring. Here are the approximate prices.
  • beeswax $0.40
  • olive oil $0.44
  • lard $0.09
  • TOTAL $0.93 = approximately 6 oz.
Carmex at the store: $0.98 = 0.25 oz.

The recipe I used made approximately 6 oz. of lip balm compared to 0.25 oz. of Carmex. That would be 24 times as much for a few cents less. So, the equivalent amount of my lip balm would cost about $0.04 compared to $0.98 + tax for Carmex. Amazing!

 And while I was at it and had the beeswax out, I needed some smaller reusable food wraps. So while the lard and beeswax were melting for the lip balm, I cut out a few more pieces of fabric, sprinkled on some wax and popped them in the oven. Another new item for us that takes very little time once you have the needed items on hand.


You see, if I am going to make lip balm or bread or a meal, I'm going to use simple plain ingredients that I hope to be able to produce here on our farm. If I am really serious about being self-reliant and being able to manage when, when not if, the end of the world as we know it arrives, then I have to be realistic about how I learn and do new things and not play head games with myself.

I know we will not be able to produce olive oil in a survival situation, but we plan to be able to produce lard. We don't have
them yet, and don't really like to read about what people are going to do, but we will be adding American Guinea Hogs and bees to our homestead come spring. This will provide us with a source of lard and beeswax which can be used for so many things besides a food source. And if for some reason those plans don't work out, there are other folks around that have bees and hogs that we can barter with. We have been homesteading for many, many years and know from the school of hard knocks that things don't come together overnight, and sometimes don't work out at all. But with gumption and perseverance, they can and do come together. 

Learn something important today. Obtain, or begin to research the knowledge and skills you need to do something useful for your family that will make life better when all of the chips are down. I've said it before and I'll say it again. It may be one of the most important things you have ever done. Time is wasting, and may run out before we know it. Work with fervor and a prayer in your heart.

Until next time - Fern