The Road Home

The Road Home
There is no place like home.
Showing posts with label cream. Show all posts

Friday, July 24, 2015

The Fine Art of Making Cottage Cheese

I started writing this post in June of 2013 and have yet to make a good, tasty batch of cottage cheese. Here is what I wrote back then.

"I have yet to be successful making cottage cheese. It is either more like ultra thick yogurt, tiny little curd crumbs or rubbery. Sound appetizing? Not, really. But.....I still want to be able to make it, so succeed or fail, I am going to try again and let you see how it goes. Who knows, maybe there is someone out there reading that knows how to do this and can help me out. That would be a real blessing.


This recipe calls for one gallon of whole milk, buttermilk and rennet. It is really a pretty simple process." 


I still have yet to make a good cottage cheese. I didn't even try for a year or so, since it never turned out edible. Well, last week I decided it was time to try again. I used the same book, same recipe and got the same results.....again. The curd was too done, rubbery and squeaked in my teeth. There was no flavor to speak of and the consistency was yucky.

After that attempt I got out my other cheese making books and compared the recipes. The main difference was not letting the curd sit at 110* for 30 minutes after it was heated up. I hoped that eliminating that 30 minute time frame would allow the curds to stay in a softer state, similar to store bought cottage cheese. It's hard to describe, but if you picture the consistency of store bought cottage cheese curds, they are soft, pliable and kind of juicy inside. I know, poor description, but I can't think of a better way to compare theirs and mine. 

I made another batch of cottage cheese today. It's better, but still rather rubbery, lacking the soft, pliable texture I am looking for. Here is what I did.

1 gallon of skimmed goat milk heated to 86*
Add 1/2 cup cultured buttermilk
Add 1/4 cup water to which 1/4 tsp. of rennet was added
Stir for 30 seconds
Let sit and ripen for 1 hour at 86*
Cut the curd into 1/2" cubes
Slowly heat curd to 110*

Okay. This is where the cheese books differed. Two of them indicated that the next step is too drain the curd instead of letting it sit and 'cook' at 110*, so that's what I did today.
 
When I poured the curd and whey into a cheese cloth lined colander, the consistency of the curd was very nice and reminded me somewhat of store bought cottage cheese. I was happy. But as soon as I poured it into the colander to drain, it's like the curds released all of their interior moisture, matted up and became chewy and squeaky again. Rats!

The next step is supposed to be to let the whey drain, then dip the cheese cloth with the curds into cold water to cool them, and let them drain again. Which I did, but the curds had already changed. It's this change or step that I am trying to figure out. How do I prevent the curds from releasing their moisture/liquid/whey? Cool them quicker? I'm not sure. I'll have to experiment some more.

The good news is that it tastes better this time. I crumbled up the curd, since it was trying to mat together. It's just the nature of the curd to want to mat together. I added 1/2 tsp. of salt and about 1/2 to 3/4 cup of cream I had skimmed from the milk before I started.

Frank and I did a taste test before I put it into the fridge to chill. We'll see how it tastes later on, then again tomorrow. My first attempt the other day ended up as pig food, so it wasn't a complete loss. This one may end up the same way. I may even share some with the chickens, too.

If you have any recommendations, I sure would like to hear them. I know there are other ways to make cottage cheese, like leaving it out on the cabinet for a few days and letting it curdle. I'm not brave enough to try that one yet. I guess I still want to have a little more control over the process. Not that I don't have sauerkraut and kefir sitting out on the cabinet all the time, it's just different than two or three day old curdled milk.


I'll keep you updated on my cottage cheese making progress, and hopefully it won't be two years before I try again. I'd like to be able to master this technique. It's kind of like learning to make bread. Frank and I have eaten a bunch of heavy, heavy flat whole wheat bread. We call it brick bread. Almost edible, but not very good. That was part of my learning to make a consistently, good loaf of bread. Then I started making sourdough bread. Yes, we have had a few rather heavy batches, and one that was too sour to eat. Now is the time to master making good, edible cottage cheese, so please help me out if you can.

Until next time - Fern

Saturday, February 22, 2014

Velvet's Baby Goats

We've got kids! Today was Velvet's big day. But before her kids arrived, we were doing some standard Saturday stuff. Making our traditional Saturday morning biscuits and as a bonus, we had gravy today, making sourdough bread (I set out the sponge last night), making yogurt and trying to clean up the kitchen while I continued to mess it up. You know, a normal day.


When I went up to the barn to milk, I noticed Velvet's hips and tailbone were very visible, so I knew her babies had dropped.
 
The hip bone to the left is very prominent.

Right along here, her tailbone is very visible. It's much harder to see in a picture.

A comparison of how hollow Velvet's hips and tail look. She is on the left.

Velvet on the left, Ivory on the right

Over the past few days her udder had filled up nicely and she was not cleaning up her feed, she just didn't have much room with the size of the babies.
Yesterday. Velvet on the left and her sister, Copper, on the right.

Yesterday afternoon

I finished off the milking and took the milk back to the house. Instead of chilling it after we strained it, I just heated it up and made yogurt. Then we added water to the incubator. The eggs have been going for a week now, only two more weeks until we have baby chicks.


Then I mixed up the bread and set it aside to rise. Since I used a half cup of butter in the bread, I set out more cream to make butter.


I also used up the honey we had ready to use. So, I got out the gallon jar of honey we are using. It has gone to sugar so I put it in jars to heat and rejuvenate it. Which made more messes, by the way.


Then it was back to the barn to check on Velvet. The goats were a little ways out in the pasture. Velvet was slow to make it to the barn and she was definitely in labor.


So, I fixed up the nursery.....

And penned up her mother, One Stripe, beside her for comfort. Here is the peanut gallery where I pull up a chair.


After a while it didn't look like anything was was going to happen soon, so I went back to the house to bake the buns and have some lunch. The buns didn't turn out right, they were kind of hollow. I am still getting used to using sourdough instead of regular yeast bread. Maybe some experienced sourdough folks can give me some pointers.


Then it was back to the barn. This is what I found when I arrived. Twin bucks. Nice big healthy boys. My concern with this birth was Velvet. Last year she had a big single doe, but she was kind of in shock for hours afterward. She wouldn't clean up the baby, nurse it or talk to it. She just stood there. Thankfully, this was not the case today. She is a very attentive mother and patiently stood for her boys to nurse. I am very grateful. It's hard to get newborn baby goats to pose for the camera, but here they are.


Velvet is the first of three does to kid this almost spring. Ivory is due next Sunday.
 
Copper is due the following Friday on March 7th. Then we will be swimming in milk again.


I'll be giving you updates on how everyone is doing. For now, at the end of a very busy, productive day I thank God for His many blessings, two healthy little boys and a healthy mom. Now it's back to the barn to check on the babies.


Until next time - Fern


Thursday, October 17, 2013

What Happened To My Butter??

We regularly make butter from our goat milk.


Our standard practice is to let the milk sit for a few days to let the cream rise to the top, then skim it off with a gravy ladle. It works great.


Since we don't get a lot of cream at a time, we freeze it until we need butter again.


Well, I made butter last Sunday and by Tuesday it had a strong, off flavor - more well known as a goaty flavor. Yuck! 

Sometimes when I thaw out the cream I don't get the butter made right away so the cream sits in the fridge. There have been times when this delay has caused the butter to turn rancid earlier than usual. But that wasn't the case this time.

The only thing I can come up with this time, is that some of this cream was saved in the summer when we were constantly overrun with milk. We are thinking maybe the cream sat in the milk longer than usual before we skimmed it, letting it age somewhat before it was ever frozen.


So - this butter turned rancid within a few days and is now going to be either dog food or chicken food. It's too stinky for us to eat. The day after this picture was taken I was making toast in the skillet. Frank came down the hall saying, "The whole house stinks! I'm not putting that stuff in my mouth!" But the butter will get used and eaten - by the chickens. Think of it as a barter. Butter for eggs. Not our original plan, but still useful, in the end.

Life's lessons never end. Even when you think you have the hang of something, it will throw you for a loop. Pondering and figuring are good for the mind. Practice these skills frequently. Don't be afraid to mess something up or fail completely. It will give you another opportunity to ponder and figure again. Think of it as a muscle. If you never do anything, really do anything to exercise your brain the only thing it will ever be able to do is react, which will not lead to new learning or even the ability to come up with solutions.

After TEOTWAWKI (the end of the world as we know it), you will need to have a sharp, keen sense to figure out what to do, when to do it and how it can be accomplished successfully. You will need to have strengthened your ability to calmly ponder and figure your way through, so that you might survive. If you haven't already done so, start practicing every day. If you already do, keep it up. It's kind of like prayer. The more you practice, the better you get. It may make all the difference in the world.

Until next time - Fern

Saturday, September 21, 2013

Winter Squash Pie

We had one more bag of frozen winter squash left from last year's harvest that we wanted to eat, so that means it is time for a pie. Even with the incredible heat and drought we had last summer, our Cushaw and Buttercup squash did pretty good at
the end of the season. We kept many of them in storage for much of the winter, then we peeled, boiled and froze several quarts. This is our last quart. Since we didn't really plan ahead before we decided it was a good day for pie, we thawed it out in a sink of hot water while I made the pie crust.

I searched online for a recipe specific to Cushaw squash and found several that were almost what I wanted, so I combined  the best of the ingredients and came up with this recipe. It calls for a single pie crust.

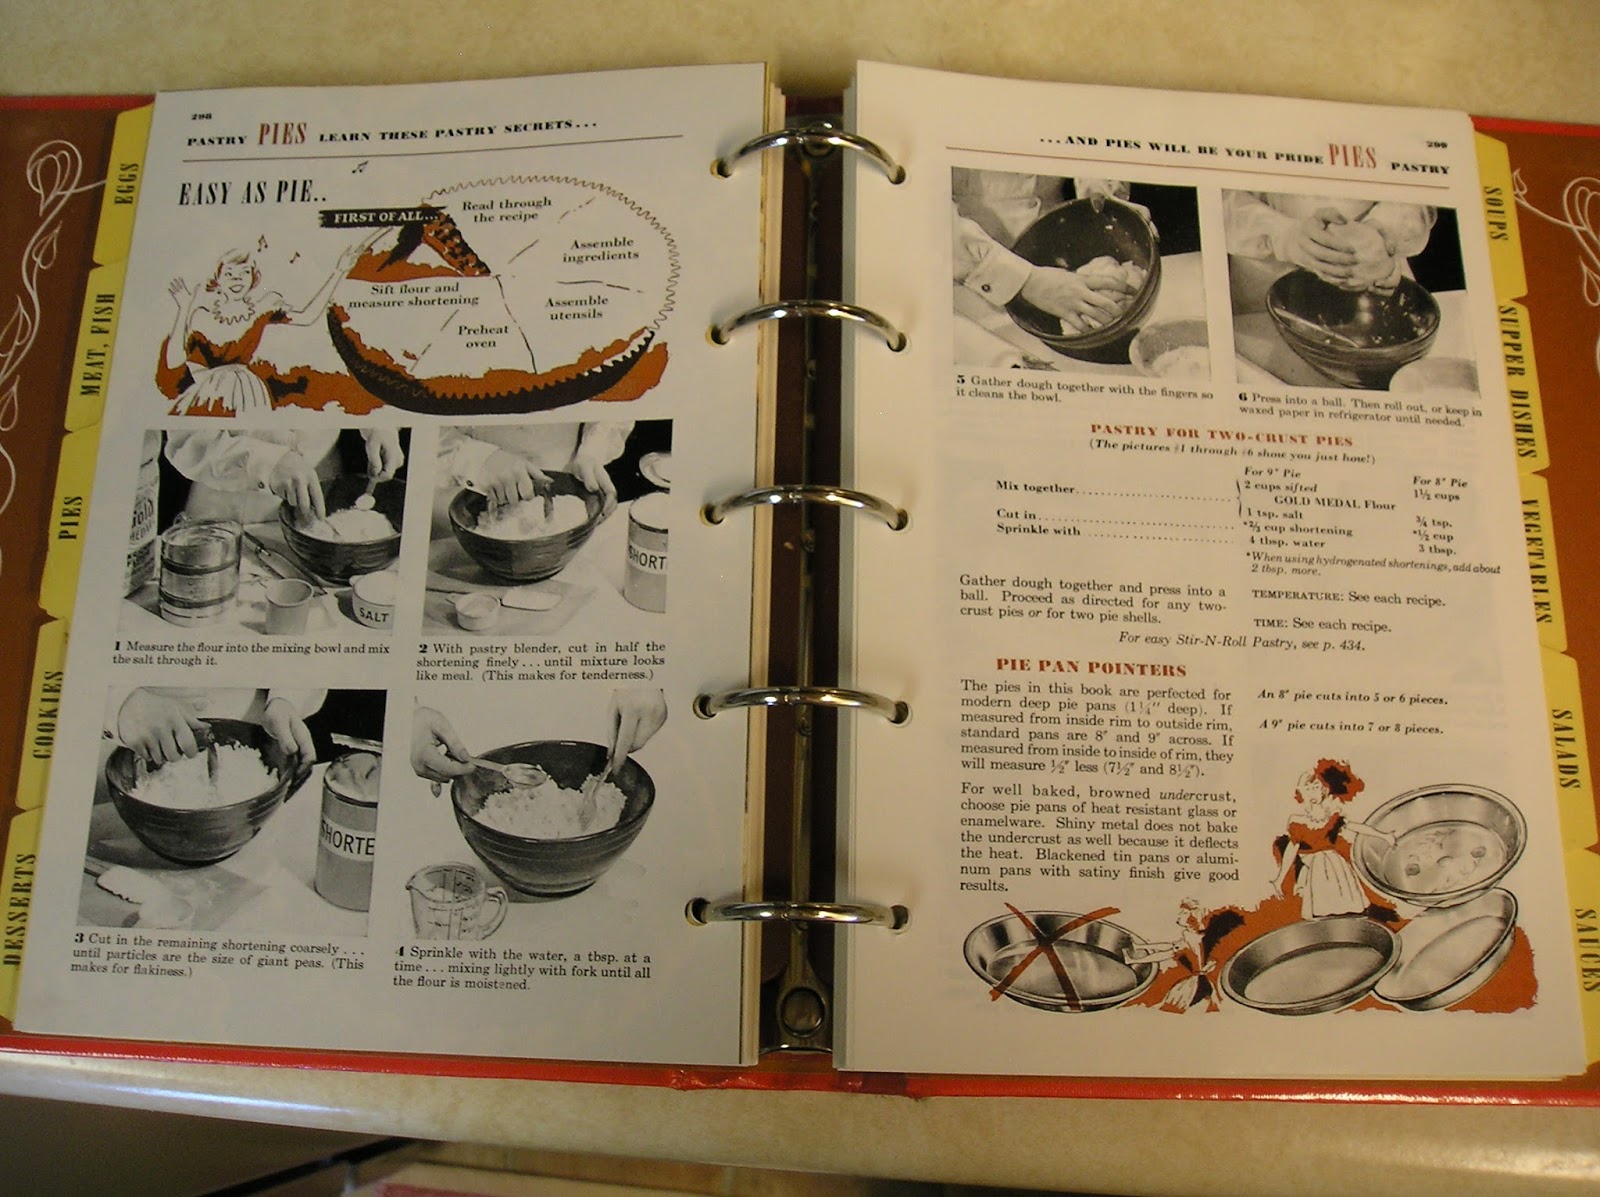
My pie crust recipe is the same one my mother taught me to use when I was in high school. 
In my spare time as a teenager living in the country, I decided to type (on a manual typewriter!) my favorite recipes in a booklet format so I would have my own cookbook when I left home. Well, my booklet never really materialized, but I am still using my typewritten pages with my old favorite recipes.

To make the pie crust you need:

1 cup flour
1/2 tsp. salt
1/3 cup shortening
about 2 tbsp. water


First, dust 2 pieces of wax paper (about the size of your pie plate) with flour.


Mix the salt with the flour, then cut in the shortening with a pastry blender until it is consistent and crumbly.


Sprinkle in a tablespoon of water at a time and stir with a fork until a ball forms. Use as little water as possible for a flakier crust.


Put the ball of dough between the two pieces of waxed paper and flatten. Roll the dough out with a rolling pin a little larger than your pie plate. I have had this rolling pin for about 30 years. Frank made it in a woodshop class he taught. It was originally going to have handles like most traditional rolling pins, but never quite got that far. I am glad. I really like it just the way it is. I have tried one of the others and I don't think they work near as well. Maybe I am just a little biased, but for me, it is perfect.


Slowly peel the top layer of waxed paper off. Don't be surprised if the dough wants to stick to the paper somewhat. Just gently get it started all across one side and peel back slowly.


Turn the dough over with the waxed paper side up and center it on the pie plate. Now repeat the same process of peeling off the final piece of waxed paper. Let the crust settle into the pie plate as you go.


When my mom taught me how to make pie crust, the hardest part was learning to flute the edges, but I finally got it down. It isn't necessary, but it does make the pie look pretty. First, I tuck under the extra dough to give it an extra layer to flute. Then, squeeze the dough up between your fingers to form the scalloped looking edge.


I have a new copy of the old Betty Crocker Cookbook with pictures that has a good explanation of making a pie crust. This is another one of those books we have an extra of in case someone may need it.
 

Boy! I sure know how to dirty up a kitchen! Frank spent his time between taking pictures and washing dishes.

 
The pie filling is very easy. If you have fresh squash, peel it, take the seeds out and cut it in cubes. Boil it until it is soft enough to mash easily with a potato masher. Measure out 2 1/2 cups and you are in business for making a pie.


Grace and her husband have tried this pie and she says it is very similar to pumpkin pie. Frank and I don't care for traditional pumpkin pie, so I am not familiar with the ingredients. One of the things I like about this pie is the amount of our homegrown ingredients that go into it.


The recipe calls for 1/4 cup of cream, so I took out a couple of jars of milk and skimmed off some fresh cream. 


I don't make our pies very sweet. I use 2/3 cup of brown sugar as the sweetener.


Add:
3 eggs


Melt and add 
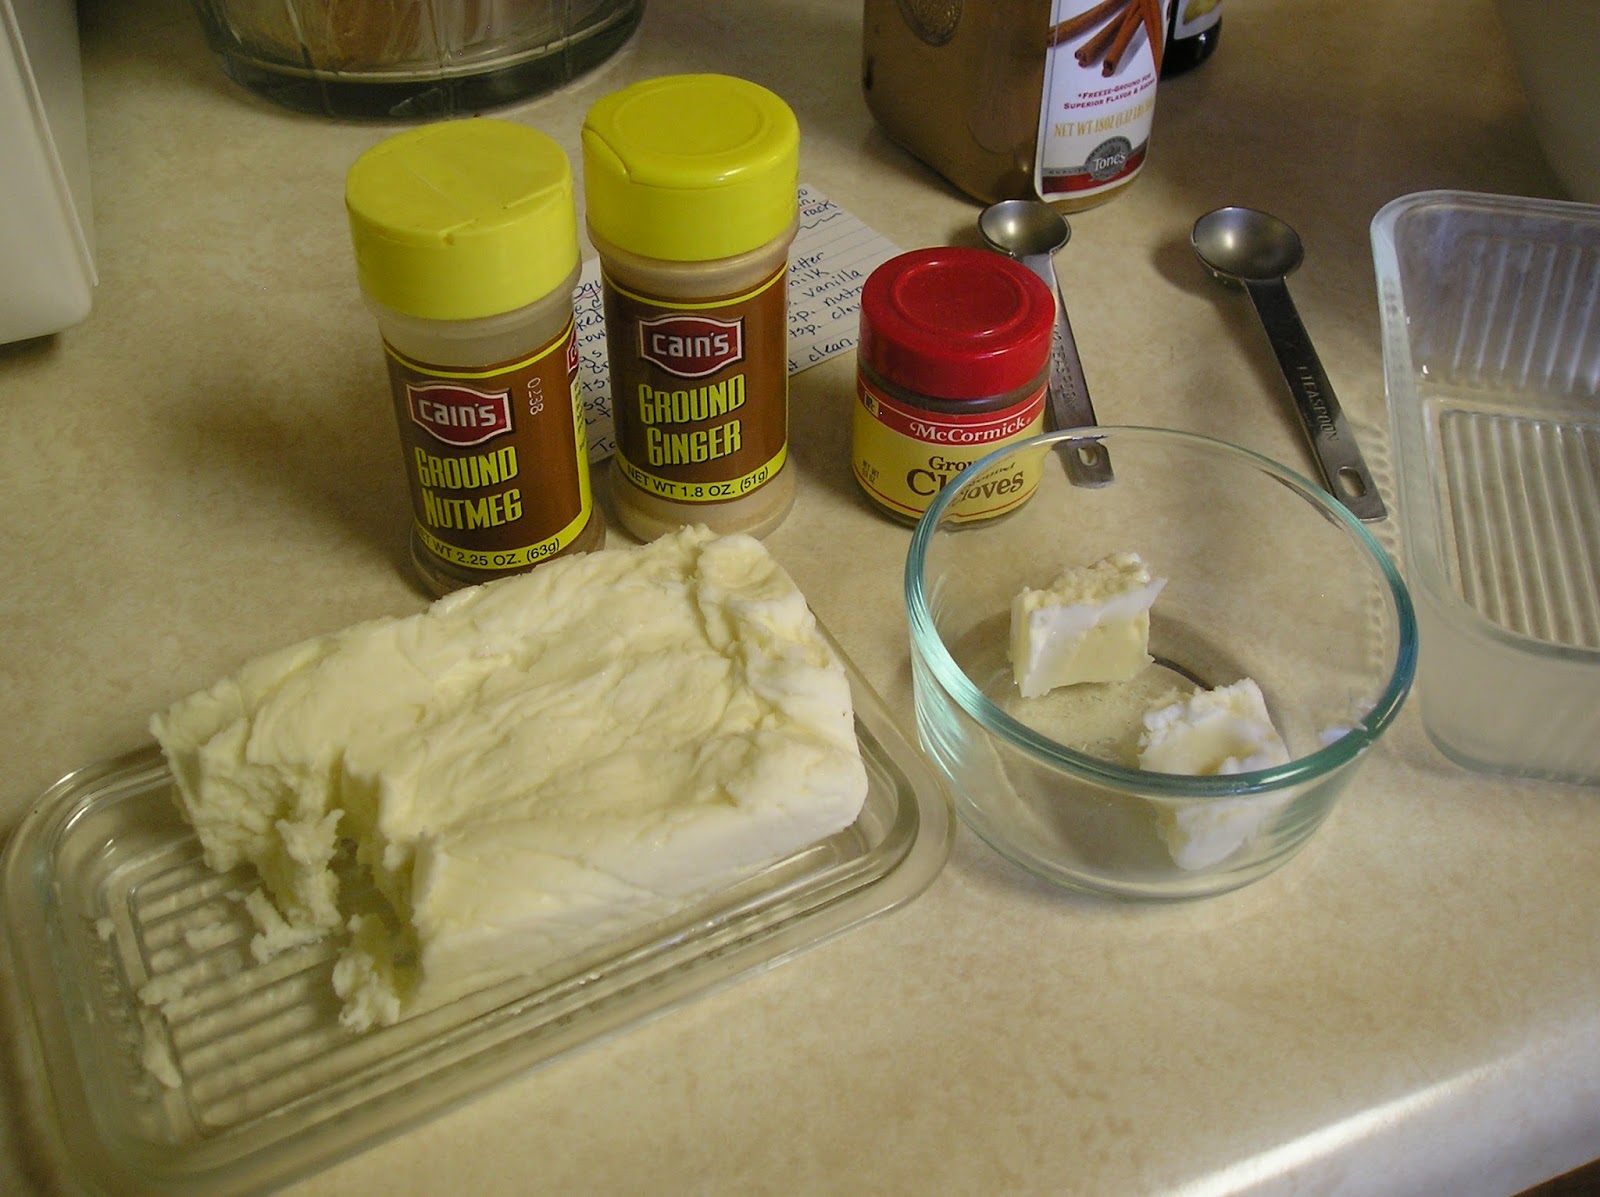
2 tbsp. butter


1/2 cup milk
1/2 tsp. salt
1 tsp. cinnamon
1/2 tsp. ginger
1/2 tsp. nutmeg
1/4 tsp. cloves
1 tsp. vanilla


I made one of these once thinking I had mixed it up well. When I went to serve it I thought I had not mashed the squash up well enough when I found a lump. It was a cooked egg yolk! Make sure you mix your ingredients well. 
Pour into the pie crust and bake at 375 degrees on the lowest rack in the oven for 50-60 minutes. A toothpick should come out clean. This is the only recipe I have ever used that has me cook on the bottom rack. I was surprised. 


These Lodge trivets were a great find. We use them frequently when we are canning. Now it awaits the pie.


Frank was going to test the pie with his finger. I told him I wouldn't recommend that.


This is what our Winter Squash Pie looks like when you serve it up before it is completely cooled. It kind of oozes onto the plate but tastes great!


From the looks of our winter squash crop this summer, we hope to enjoy more pies in the months to come. This is another easy recipe with many homegrown ingredients that we really enjoy.

Until next time - Fern