The Road Home

The Road Home
There is no place like home.
Showing posts with label gumption. Show all posts

Friday, January 30, 2015

A Very Simple Lotion, Failures & Success

A day or so after we made our simple lip balm, I tried my hand at making a simple lotion. I got the recipe from Leigh over at 5 Acres & A Dream. It's in her latest ebooklet, How To Make An Herbal Salve, which is part of The Little Series of Homestead How-Tos, she's been writing. I wanted something very simple, with few ingredients, that I could make from things I normally keep on hand. Leigh's recipe fit the bill.

Trying to make a simple lotion is a continuation of our attempt to minimize the chemicals we ingest or absorb into our bodies. And, once again, I was amazed just how easy it is to make this lotion, even though it failed the second time I made it. But that's getting ahead of myself. I forgot to take any pictures while I made the first batch.


The recipe calls for one cup of herbal tea. I had recently read that lemon balm and peppermint are good for your skin, and I happened to have a few leaves here and there growing out in the herb bed, so I picked them to use in my tea. I brought the water to boiling, turned off the fire, added the herbs and let them steep for about five minutes.

Next, I took 3/4 cup of oil, I used olive oil, and melted 2 tbsp. of beeswax in it. After the tea was ready, I blended it into the oil, until it was well blended. Leigh uses a blender. I used a slotted spoon. I wasn't sure how long to stir it, and I knew I wouldn't get the same consistency as a blender, but I thought it worked out well.


Frank and I were pleased with the results. This lotion is definitely oilier than any over the counter lotion we have used. But, if you give it a few minutes it will soak in and works very well.

 
So, the other day I thought I would make another batch since we have already used up more than half of the first batch. I picked more lemon balm and peppermint, even though there wasn't much left out there. 


Made my tea, melted the beeswax and got ready to mix it together. 


This time I used the KitchenAid with the whip attachment to 'blend' the tea into the oil. After I thought it was well blended, it started to solidify on the sides of the bowl, I poured it into my half pint jars. 


Very quickly it started to separate. Tea on the bottom, olive oil and beeswax on the top. I scooped it out and remelted everything, stirred it with my slotted spoon, and poured it back into the jars. It separated again. I looked at the recipe over and over and tried to figure out what I had done differently to no avail. So, on the counter, taking up space, my failed lotion sat for almost a week. The other day Frank asked me if it had anywhere else it could be. But I told him for now, it was just sitting there until I could figure out what to do differently with it.

 Well, this morning it was time. I didn't have the time to go out searching for more lemon balm and peppermint, so I used some store bought chamomile and made up a cup of tea.


I scooped off the olive oil and beeswax from the failed batch, remelted it again, and poured out the old tea. This time I didn't bother with the Kitchen Aid. I figured if it didn't work, I would dump it all out and try again another time.

After I poured the tea into the oils, I stirred and stirred with my slotted spoon. The mixture looked exactly like the failed batch and I didn't think it would work. I have been researching a lot about making soap lately, reading and watching YouTubes. I have learned what getting your soap to trace means. It's when you have stirred it long enough for it to become a thick, pudding consistency that will hold it's shape when you run a spoon across the top. What does this have to do with making lotion? Well, as I stood there stirring and stirring, I wondered if I cooled the lotion down enough for the oils to start solidifying, would they begin to blend with the tea the way they were supposed to? So I put the pan into a sink of cold water to cool it down as I stirred and stirred. My arm was getting tired.


It worked. As the oils began to solidify, the tea started to blend into the mixture. I tried stirring with my left hand, but kept splashing droplets here and there on the counter. So, I stirred and stirred until it was time to stop.
There are still tiny, little pockets that look like moisture, but this time, the lotion actually looks rather creamy, like you would expect from a commercial lotion. I really couldn't care less if it looked like a commercial lotion, but since that is what I have used all my life, it is what I have come to expect a lotion to look like. The consistency of the first batch is more like a salve than a lotion, but this batch is creamier, even though the ingredients are the same. Interesting.


There are many things that I have long dreamed and thought of doing. Making lotion wasn't one of them. But, you know what? I think it is so neat, and fun, and healthier, and just really cool. I made a very simple lotion from ingredients I keep on hand, thanks to all the folks out there that share what they know and do, so I can do it too. What a great life!

Until next time - Fern

Friday, January 2, 2015

A Simple Lip Balm With a Rant

Now that I have a nice supply of beeswax, I have been looking into making a few more things I have thought about for years. Just like making reusable food wrap, making this simple lip balm took about 10 minutes
after the needed items were assembled. Ten minutes? Unbelievable to me. This type of endeavor is supposed to be difficult and complicated, that is why we depend on the store to provide all of our needs, right? Well, the more we learn, the more we realize that there are many things that we can now provide for ourselves, and not depend on them. This decreases our dependence and increases our independence, which is one of our goals, as our world spirals more and more out of
control each and every day, right before our eyes. I know you weren't expecting this commentary at the beginning of a lip balm article, but it's just another example of marketing and brainwashing. I can make a very simple lip balm with minimal ingredients that can be acquired locally. That is one more small measure of comfort I can provide when the SHTF. With that said, here is my first effort at making a very simple lip balm.

But, before I get to that, I want to show you how economical it is, and how manufacturers are continuing to decrease the amount of product we receive, while maintaining the prices, in a effort to disguise just how bad inflation has become. If you don't pay attention, you won't notice that you now put much less on your plate for the same amount of money than you could a year ago, or even six short months ago. I know the cost of gasoline at the pump has recently gone down, but it doesn't change the amount of food on your table.

Frank and I have used Carmex and Chapstick for years and years. Well, after we moved here six plus years ago, we started saving the empties. Yes, we are turning into our grandparents and saving all sorts of odd things, but I thought maybe someday I would learn how to make lip balm and refill them with our own stuff. One of the interesting, but irritating things we noticed a while back is how much less the containers are holding than they used to. We ran out much quicker than before. For example.

Older Carmex, current Carmex, our lip balm. Carmex used to be flat on the bottom.

Without further verbal wrangling, here is what I did to make lip balm. I found a great site, The Nerdy Farm Wife, that gave the basics of lip balm with recommended options, but without a lot of fluff. I also obtained a great little eBooklet recently from Leigh at 5 Acres and a Dream titled How To Make An Herbal Salve. It has some great simple recipes that I plan to try now that I've gotten my feet wet with this experiment. We bought a tub of lard recently for our first attempt at making soap. It is another project that is on the list of things to learn. There is some pig fat in the freezer waiting to be rendered, but, for now, we bought the lard. Farm Wife gave me the information I needed to make a very simple lip balm.

First, to gather the needed materials.

Beeswax
Olive oil
Lard
Measuring cup
Pan
Containers


These little containers have a short story. Our friend down the road, Grace, loves garage sales. A while back she found these little containers and brought them to me knowing I wanted to learn to make salves and such. I'm happy to finally be putting them to use, and the smaller ones are just the right size for lip balm. After I finalize my recipe, I will start filling up the old Carmex jars as well. After I gathered the needed ingredients and materials, it was very simple to complete this recipe. I am still amazed. So here goes.


3 tbsp. olive oil
1 tbsp. lard
1 heaping tbsp. beeswax 

That's it!
The lard has almost melted & the beeswax has just started.


Put about two inches of water in the pan, measure ingredients into the measuring cup and place it in the pan with medium heat,  and watch everything melt. This creates a type of simple double boiler. I used a plastic spoon this time because I wasn't sure how difficult it might be to wash off the wax. I have an extra measuring cup just in case I couldn't get this one clean enough, but I washed it immediately after use with hot water and Dawn and it came clean just fine.

After everything was melted and stirred well, I took the cup out of the pan and dried it so it wouldn't drip any water into the mix as I poured it into the containers. Warning, the handle on the measuring cup was hot and I needed to hold it with a towel. I was surprised that this small amount of ingredients filled up four of these small containers. That will last us quite a while.


It only took about 10 minutes for the liquid to totally solidify and be ready to use. The texture in the jar is very similar to Carmex, but feels more oily when applied. Frank and I are very pleased with the outcome, and will let you know how it goes as we use it over time. Now that I have tried this, I plan to infuse some olive oil with peppermint and lemon balm, which are growing out in the herb bed, to put in the next batch.


When I finished this little project, Frank asked me how much it cost to make this much lip balm. I didn't know so I went and looked up the prices and did some figuring. Here are the approximate prices.
  • beeswax $0.40
  • olive oil $0.44
  • lard $0.09
  • TOTAL $0.93 = approximately 6 oz.
Carmex at the store: $0.98 = 0.25 oz.

The recipe I used made approximately 6 oz. of lip balm compared to 0.25 oz. of Carmex. That would be 24 times as much for a few cents less. So, the equivalent amount of my lip balm would cost about $0.04 compared to $0.98 + tax for Carmex. Amazing!

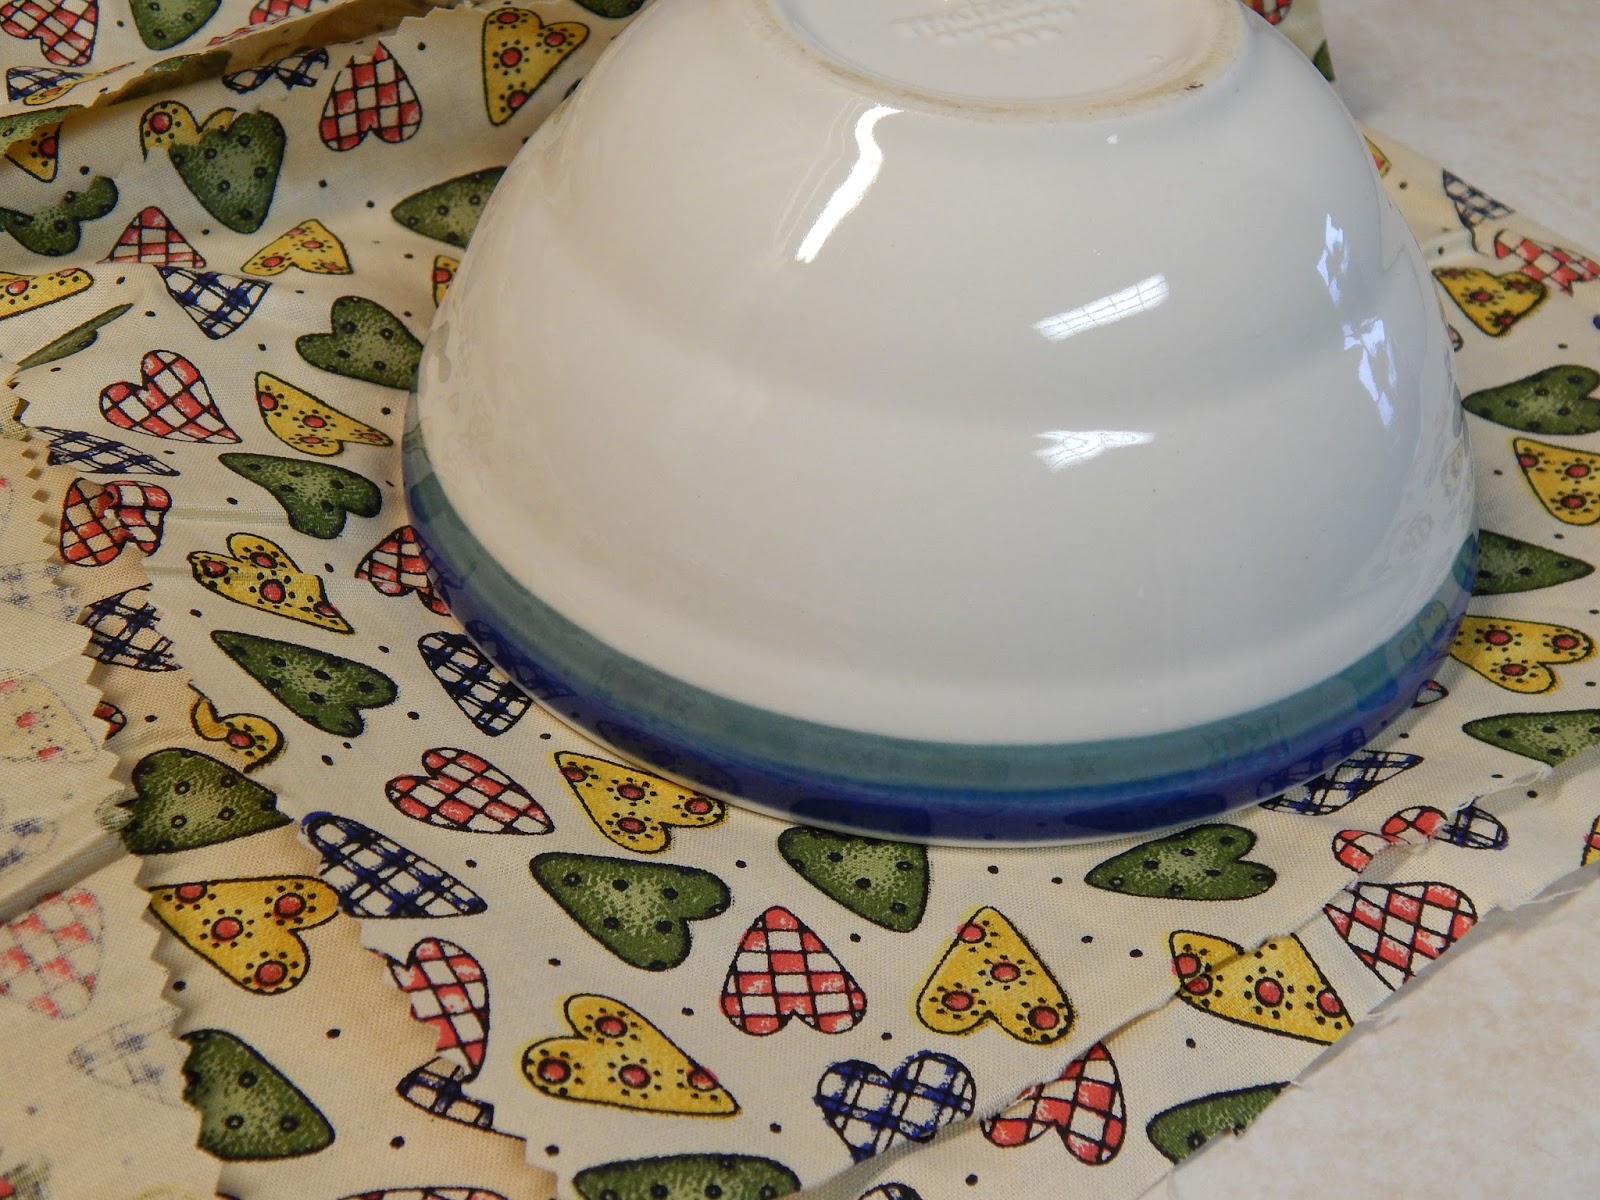
 And while I was at it and had the beeswax out, I needed some smaller reusable food wraps. So while the lard and beeswax were melting for the lip balm, I cut out a few more pieces of fabric, sprinkled on some wax and popped them in the oven. Another new item for us that takes very little time once you have the needed items on hand.


You see, if I am going to make lip balm or bread or a meal, I'm going to use simple plain ingredients that I hope to be able to produce here on our farm. If I am really serious about being self-reliant and being able to manage when, when not if, the end of the world as we know it arrives, then I have to be realistic about how I learn and do new things and not play head games with myself.

I know we will not be able to produce olive oil in a survival situation, but we plan to be able to produce lard. We don't have
them yet, and don't really like to read about what people are going to do, but we will be adding American Guinea Hogs and bees to our homestead come spring. This will provide us with a source of lard and beeswax which can be used for so many things besides a food source. And if for some reason those plans don't work out, there are other folks around that have bees and hogs that we can barter with. We have been homesteading for many, many years and know from the school of hard knocks that things don't come together overnight, and sometimes don't work out at all. But with gumption and perseverance, they can and do come together. 

Learn something important today. Obtain, or begin to research the knowledge and skills you need to do something useful for your family that will make life better when all of the chips are down. I've said it before and I'll say it again. It may be one of the most important things you have ever done. Time is wasting, and may run out before we know it. Work with fervor and a prayer in your heart.

Until next time - Fern

Friday, March 28, 2014

The Tale of the Sunchokes

We have long wanted to have a patch of sunchokes or Jerusalem artichokes. We tried years ago at our first homestead. From everything we read they would grow just about anywhere and spread profusely. Not for us.

After we arrived here we wanted to get a patch started, after all, they are very nutritious for livestock and humans. We planted the first batch in the garden, yes, really, in the garden, just so we could get them started because we didn't have anywhere else to put them at first. They were very happy and grew quite well. (All of the pictures here are compliments of Google images.)


In the fall we dug them up to move them to their new home. Well, things happened and they stayed in the wagon until they all died. Yes, all of them. Well, except for the few that came up in  the garden the next year, but they were easy to recognize and pull up, so, no, they did not spread all over the garden.

The next year we planted a very large patch out in one of our smallest pastures where we were going to start an orchard and try to grow some other feed crops. Not long after they were planted it rained and it rained and it rained. They were standing in water for weeks. And then.....we had one of the hottest, driest summers in a long time. So the ones that didn't rot, cooked and died. All of the fruit trees we planted out there died as well.

Two summers ago we decided to try yet again. Since we had been through two years of very hot, dry weather the ground was difficult to work. We got the bright idea of using the auger on the tractor to dig some holes for the sun chokes. So we did, about 30 of them. After they were dug, we filled the holes back in with the dirt and planted our new patch. We were happy with the process, it wasn't near as back breaking as trying to dig all of those holes with a shovel. Then it rained and the dirt sunk down into the holes about six inches. That's when we figured out that we had planted them way too deep. They still came up and grew last summer, but they didn't get as tall as I expected and they never bloomed like the first batch did.

So, guess what? We're going to plant some more this year in a different place and try to get yet another patch growing. We have ordered them, and they should be here before long. We will show you the new patch as we plant them and the 'too deep' patch as they come up. We are still determined to have a patch or two of these perennial tubers as another source of food. Even if they just grow and spread for a number of years without being harvested or eaten, they will be another source of nutrition, another source of food storage, if you will.

This is a story of, if at first you don't succeed, try, try again, and again and again. There are many such stories in each and every life, yours, ours and everyone you know. The important thing is to keep trying. Period. Does that mean we don't 'give up' for short periods of time every now and then? No. But then we go back to that big bucket of gumption we have been storing up, grab a handful, put it in our pockets and get back at it. Life is a precious journey and the most important part of it is what you make of it. Make it worth the time you spend living it.


Until next time - Fern