It may not be standard practice to blog about an experimental goof-up when you first start blogging....but I did. That is just part of life. Mistakes and experiments that flop are all part of learning and living.....at least it is for us.
So, with that said, we made cheddar cheese again. And this time we used two cheese presses like we had in the past.
We start off by putting the curd in the press for 20 minutes at 15 pounds pressure. We tighten the press down until it feels right.
After 20 minutes, take out the cheese, turn it over and press again for 20 minutes at 30 lbs. pressure.
At this point I pour out the whey that has been released during the first press. There will be more during the next few presses, but this is most of it and it can get messy.
.JPG) After the cheese has been pressed twice, remove it from the press again and put on a new cheese cloth. Return it to the press for 2 hours at 30 lbs. pressure.
After the cheese has been pressed twice, remove it from the press again and put on a new cheese cloth. Return it to the press for 2 hours at 30 lbs. pressure.
Frank noticed how I had tightened down the cheese press a while back and gave me some advice. At first, when I was trying to figure everything out, I wasn't paying attention to the alignment of the follower (the wooden or metal disc used to press down on the cheese) and the large screw handle used to push down on it. Several times I had it pretty crooked which wasn't working very well and eating away some of the wood around the hole in the wooden follower shown above. So, if you use these types of presses, make sure you have them aligned correctly or you may cause some damage.
After the 2 hour press, remove the cheese, put on another new cheese cloth and press again for 24 hours at 40 lbs. of pressure.
At the end of 24 hours, remove the cheese and set it out to dry. This will take three to four days depending upon the humidity and temperature of your house.
Here are the two wheels fresh from the press.
 Drying
Day 1 - darker rind beginning to form
Day 2
The rind is quite a bit darker, and feels drier to the touch.
There is not much cabinet space left to work with - 2 wheels drying and 2 more in the presses.
Day 3 was busy and went by without any pictures.
On day 4 for the first batch of cheese and day 3 for the second batch, I decided it was time to wax all of them.
Some of the cheese we made last year is a little dry, others have a good texture. So I am going to experiment, yet again, and see how these compare when they are aged.
Drying
Day 1 - darker rind beginning to form
Day 2
The rind is quite a bit darker, and feels drier to the touch.
There is not much cabinet space left to work with - 2 wheels drying and 2 more in the presses.
Day 3 was busy and went by without any pictures.
On day 4 for the first batch of cheese and day 3 for the second batch, I decided it was time to wax all of them.
Some of the cheese we made last year is a little dry, others have a good texture. So I am going to experiment, yet again, and see how these compare when they are aged.
 This is my cheese wax pot. We had a small sauce pan that had been cooked dry and was discolored so I chose it to use for the cheese pot. Whatever pan you choose to use for wax needs to be dedicated to only wax because it is very hard to clean up. The wax is heated in a double boiler because it can
explode if exposed to direct high heat. You have to be careful not to
get water in the wax because it may pop similar to water in hot cooking
oil.
This is my cheese wax pot. We had a small sauce pan that had been cooked dry and was discolored so I chose it to use for the cheese pot. Whatever pan you choose to use for wax needs to be dedicated to only wax because it is very hard to clean up. The wax is heated in a double boiler because it can
explode if exposed to direct high heat. You have to be careful not to
get water in the wax because it may pop similar to water in hot cooking
oil.
 One of the great things about cheese wax it that it can be reused. When it is taken off of the cheese, wash it with warm water, dry it carefully then store it in the cheese pot. I need more wax for these four wheels, so I cut another piece off of the five
pound block I bought and add it to the pot. I buy the wax in bulk, and keep some extra on hand just in case I can no longer acquire any more.
The first year I made cheddar, I had some mold grow inside the wax as it aged that gave it a bitter after taste. I read everything I could find about taste and made changes in the ripening time which will reduce the acidity. I also read that keeping the wax at 220 degrees will help kill any mold spore that may be on the cheese. And the third thing I read said to brush on a layer of vinegar to kill any bacteria that may be on the surface of the cheese from handling or sitting out to dry. So now I do all three of these things each time I make cheese.
I label and date the cheese when it is waxed. If there is anything notable about a particular batch of cheese I put that on the label. The ACV stands for apple cider vinegar.
For these two batches, the 'more dry' and 'less dry' comments will help me remember my experiment to see which one has the more desirable moisture content.
There are two methods of waxing - dipping and brushing. I choose to brush it on because it uses a smaller cheese pot and much less wax. The brush I use is made for waxing cheese. The bristles will stand up under the high heat of the wax.
I coat a flat side first, then 'paint' around the edge, finishing up with the other side. I try not to make a mess and waste any wax, but as you can see it is drippy, so I have a piece of waxed paper on the cabinet.
Starting in the top, right corner and going clockwise: first wheel - no wax; second wheel - one layer of wax; third wheel - two layers of wax; and fourth wheel - three layers of wax and ready to have a label attached. Some books recommend five or six layers of wax, but I find three works just fine.
One of the great things about cheese wax it that it can be reused. When it is taken off of the cheese, wash it with warm water, dry it carefully then store it in the cheese pot. I need more wax for these four wheels, so I cut another piece off of the five
pound block I bought and add it to the pot. I buy the wax in bulk, and keep some extra on hand just in case I can no longer acquire any more.
The first year I made cheddar, I had some mold grow inside the wax as it aged that gave it a bitter after taste. I read everything I could find about taste and made changes in the ripening time which will reduce the acidity. I also read that keeping the wax at 220 degrees will help kill any mold spore that may be on the cheese. And the third thing I read said to brush on a layer of vinegar to kill any bacteria that may be on the surface of the cheese from handling or sitting out to dry. So now I do all three of these things each time I make cheese.
I label and date the cheese when it is waxed. If there is anything notable about a particular batch of cheese I put that on the label. The ACV stands for apple cider vinegar.
For these two batches, the 'more dry' and 'less dry' comments will help me remember my experiment to see which one has the more desirable moisture content.
There are two methods of waxing - dipping and brushing. I choose to brush it on because it uses a smaller cheese pot and much less wax. The brush I use is made for waxing cheese. The bristles will stand up under the high heat of the wax.
I coat a flat side first, then 'paint' around the edge, finishing up with the other side. I try not to make a mess and waste any wax, but as you can see it is drippy, so I have a piece of waxed paper on the cabinet.
Starting in the top, right corner and going clockwise: first wheel - no wax; second wheel - one layer of wax; third wheel - two layers of wax; and fourth wheel - three layers of wax and ready to have a label attached. Some books recommend five or six layers of wax, but I find three works just fine.
I 'paint' the label on after I have completed the three layers. I cover it with just enough for it to stick because I will peel it off when I wash the wax for reusing.
There. Four more wheels that we can eat...........in January!
 While I was waxing these four wheels of cheese and writing this post, I thought it would be interesting to show one of last year's wheels. I was surprised to see that the next one ready to eat was waxed one year ago today!
I try to take the wax off in just a few pieces. It makes it easier to wash.
After the first piece is off it is pretty easy to remove the rest.
Peel off the label.....
This wheel tastes like sharp cheddar! Yea! It is a little drier than I would prefer, but this is one wheel that is a success...one year later.
Making cheddar cheese definitely goes along with one of Frank's old sayings - Postpone gratification for long term gains. We have lived by that motto for years and it has always served us well.
Until next time - Fern
While I was waxing these four wheels of cheese and writing this post, I thought it would be interesting to show one of last year's wheels. I was surprised to see that the next one ready to eat was waxed one year ago today!
I try to take the wax off in just a few pieces. It makes it easier to wash.
After the first piece is off it is pretty easy to remove the rest.
Peel off the label.....
This wheel tastes like sharp cheddar! Yea! It is a little drier than I would prefer, but this is one wheel that is a success...one year later.
Making cheddar cheese definitely goes along with one of Frank's old sayings - Postpone gratification for long term gains. We have lived by that motto for years and it has always served us well.
Until next time - Fern

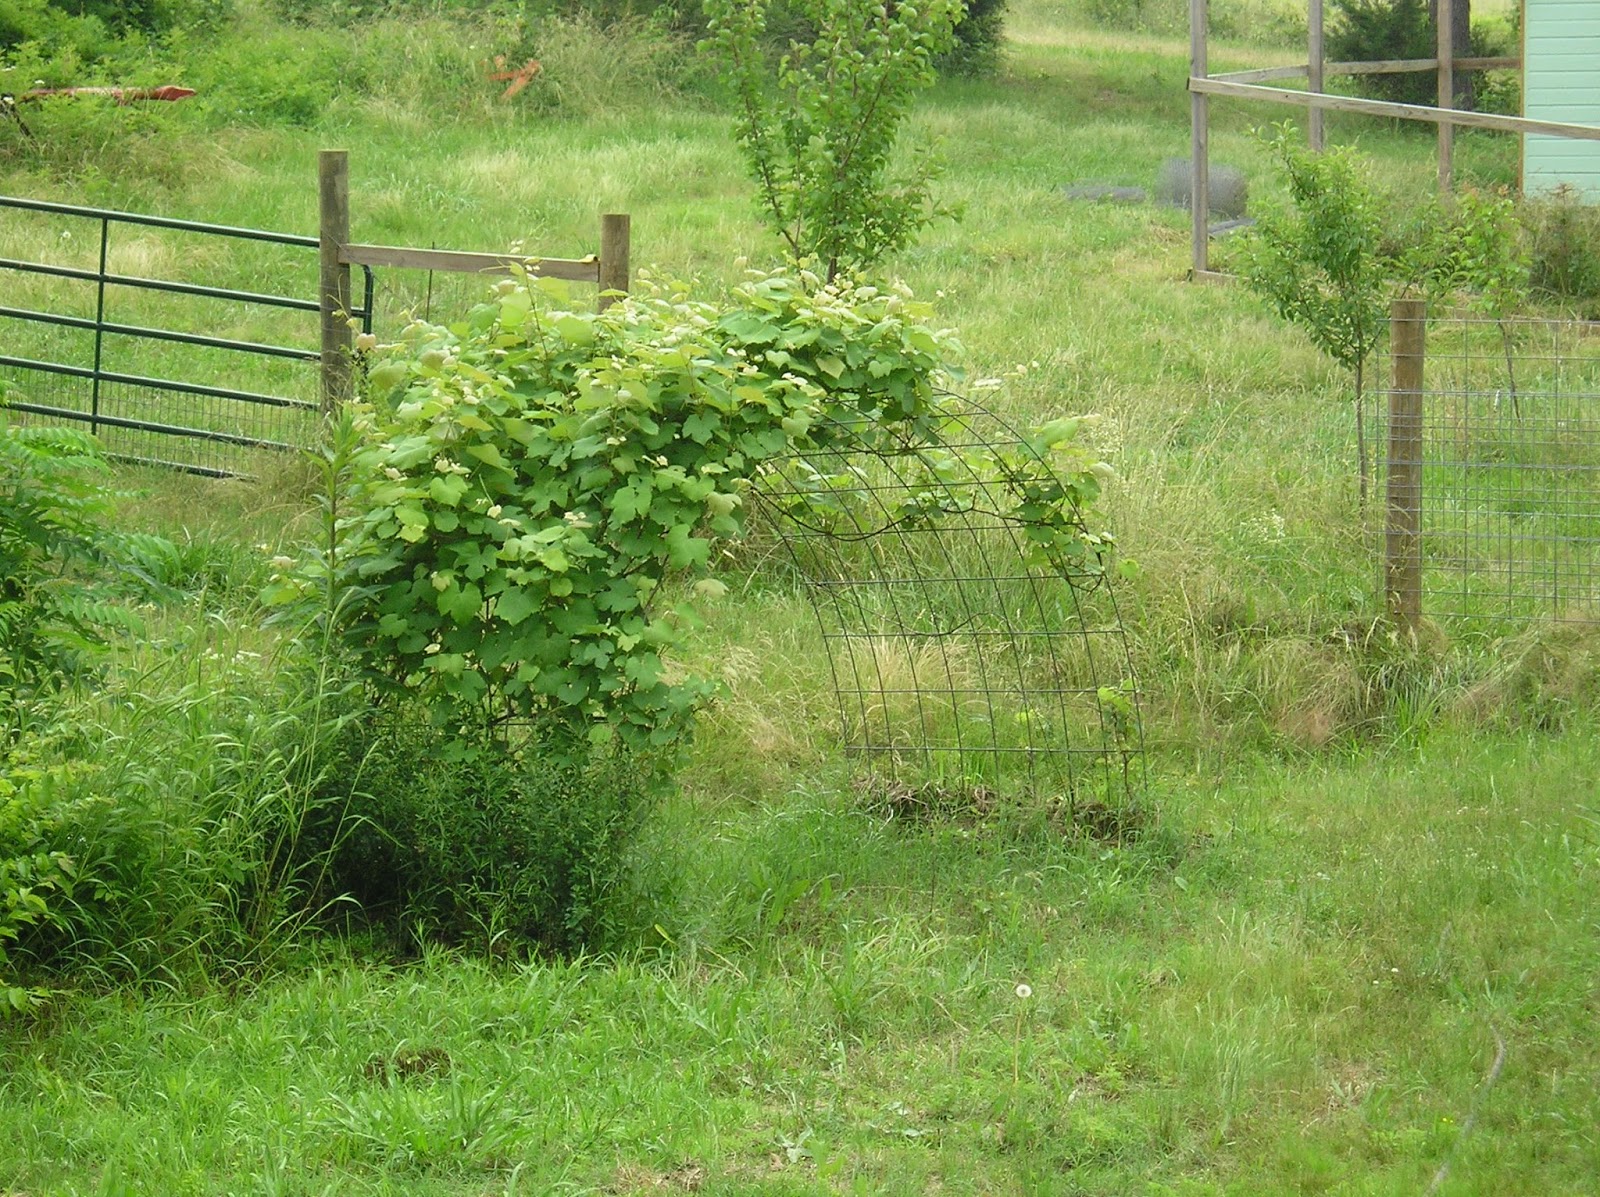


 I thought it would be good to try my hand at raisins. So I got out my book on drying foods. I knew the grapes had seeds, but I thought I could cut them in half (so I wouldn't have to blanch them) and take the seed out, put them on the dehydrator trays and be ready to make raisins.
  Wrong! It is basically impossible to get the seeds out of the meat of the grape without taking all of the meat with it. This turned out to be the wrong choice for these grapes. This would work great with seedless grapes, just not with these.

 I took all of the grapes off of the vines, picked out the bad ones and put the good ones in a pot on the stove to cook down so I could run them through the strainer (like I did the tomatoes for tomato sauce). I mashed the grapes with the potato masher and was pleased with this small amount of grape mush. Since we had finished canning tomato sauce and completed the regular chores, this was all we did yesterday. Today when I got home from work, I got the grape mush out and heated it up a little so it would be easier to scoop into the strainer. This is only the second time we have used this strainer attachment. We got everything set up, and put a small crock under the
mixing bowl so the juice wouldn't splash like the tomato sauce did.
I took all of the grapes off of the vines, picked out the bad ones and put the good ones in a pot on the stove to cook down so I could run them through the strainer (like I did the tomatoes for tomato sauce). I mashed the grapes with the potato masher and was pleased with this small amount of grape mush. Since we had finished canning tomato sauce and completed the regular chores, this was all we did yesterday. Today when I got home from work, I got the grape mush out and heated it up a little so it would be easier to scoop into the strainer. This is only the second time we have used this strainer attachment. We got everything set up, and put a small crock under the
mixing bowl so the juice wouldn't splash like the tomato sauce did.


.JPG)


.JPG)


.JPG)


.JPG)
.JPG)


.JPG)
.JPG)

.JPG)


.JPG)
