The Road Home

The Road Home
There is no place like home.
Showing posts with label spices. Show all posts

Friday, August 14, 2015

Low Carb Pizza

I have been trying out different ways to make a low carb pizza using our whole wheat sourdough starter. Frank and I switched to eating low carb in December 2014, and plan to continue eating that way forever. We have both lost around 45 pounds since we changed our eating habits, and this has changed our lives for the better. Because of this change, I have been experimenting with different low carb meals. Some are a success, some aren't and some need a little more tweaking.

For the crust, I used whole wheat sourdough starter. I put olive oil on the plates, spread out some starter, then baked it for about 15 minutes while I got the toppings ready. I wanted it to be cooked before I added any sauce, so it wouldn't be too wet.

I used some of the tomato sauce we canned a few years ago. I'm trying to use up the last few jars. To the sauce I added salt, pepper, basil, oregano, parsley and some of the garlic we canned a few months back.


The garlic has worked out very well. We have already used one pint and opened a second. I'm thinking we may need to can another batch of 16 pints.


I layered tomato sauce, browned sausage, onions, sweet peppers from the garden and some of our shredded mozzarella. 


After it was constructed, the pizza baked for another 10 minutes at 450*.


Our side dish this evening was a bowl of collard and beet greens picked from the garden. We think the turnip greens are better, but collard greens are just fine, too.


The olive oil didn't work very well, and the 'crust' stuck a little. It was also softer or moister than I prefer, but the flavor was good. I think I'll have to try making a dough for the crust sometime, but I'll need to make it in the morning for the evening meal. That will give time for the starter to digest the carbohydrates in the whole wheat flour, which not only reduces the carb load, but releases many useful vitamins and minerals.

Now the final version. What Frank thought. "You can live on it. Maybe after it's tweaked, you could live on it happily." 


There are so many different ways to eat healthy. We try to find ways to grow or make our own with everything we eat. There are many, many low carb products on the market, but if it is feasible for us to make our own, we would much rather do so. It's part of choosing. As long as we still have the freedom to choose, we choose not to participate in the processed, prepackaged, chemicalized items corporate America puts on the grocery shelves and calls food. It takes time and effort to learn, produce, and prepare real food, but it is worth it.

Until next time - Fern
 

Friday, June 27, 2014

Pickling Spices & the Nutrition of Yellow Squash

We like yellow, crook neck squash and grow it every summer. This year, even though I have pulled up four plants due to squash vine borers, we have an over abundance of squash. That's a good thing, until people close their doors and turn off their lights when they see you coming with yet another bag of squash to give away.


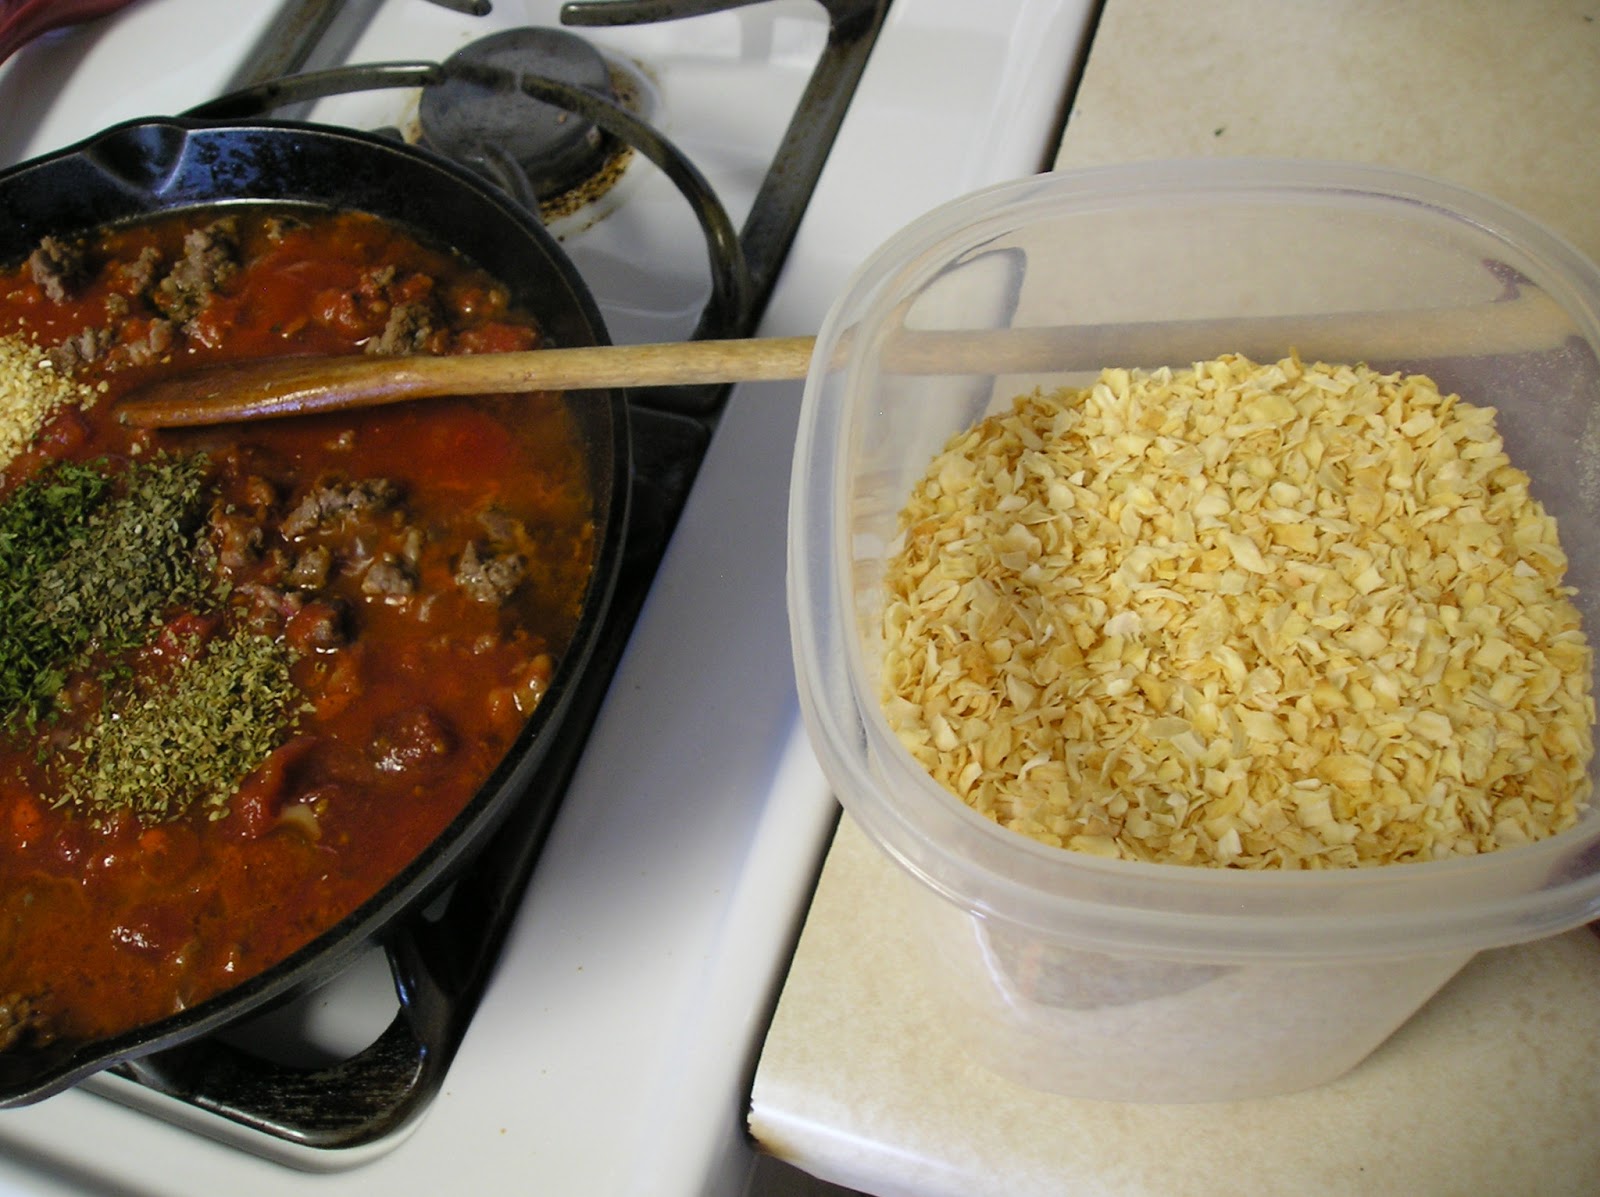
We have canned 31 pints of squash in water, along with 28 pints of squash relish. That will be more than enough for us until next summer. You can find our canning techniques for squash here and the recipe for the squash relish here. There are three differences in making squash relish this year. One, is that I used some of the peppers I dehydrated last summer, instead of fresh. I rehydrated them, then ran them through the grater with the squash and onions. Two, we put the relish in a water bath canner for 15 minutes, like we do other pickled items, which we did not do last year.

The other small difference is that I mixed up my own pickling spices. Not a very significant thing, but I got a big kick out of it. Simple, huh? Last year I found a recipe online, then ordered the individual spices in bulk from Monterey Bay Spice Company. Now, I can mix my own according to our tastes. Some of these items I will be able to grow and use my own, but things like cinnamon, cloves and allspice, I will not. Here is the recipe.

Pickling Spices

4 cinnamon sticks, well crumbled
1 - 1" piece dried gingerroot, well crumbled, or 1 tbsp. dried root pieces
2 tbsp. mustard seed
2 tsp. whole allspice berries
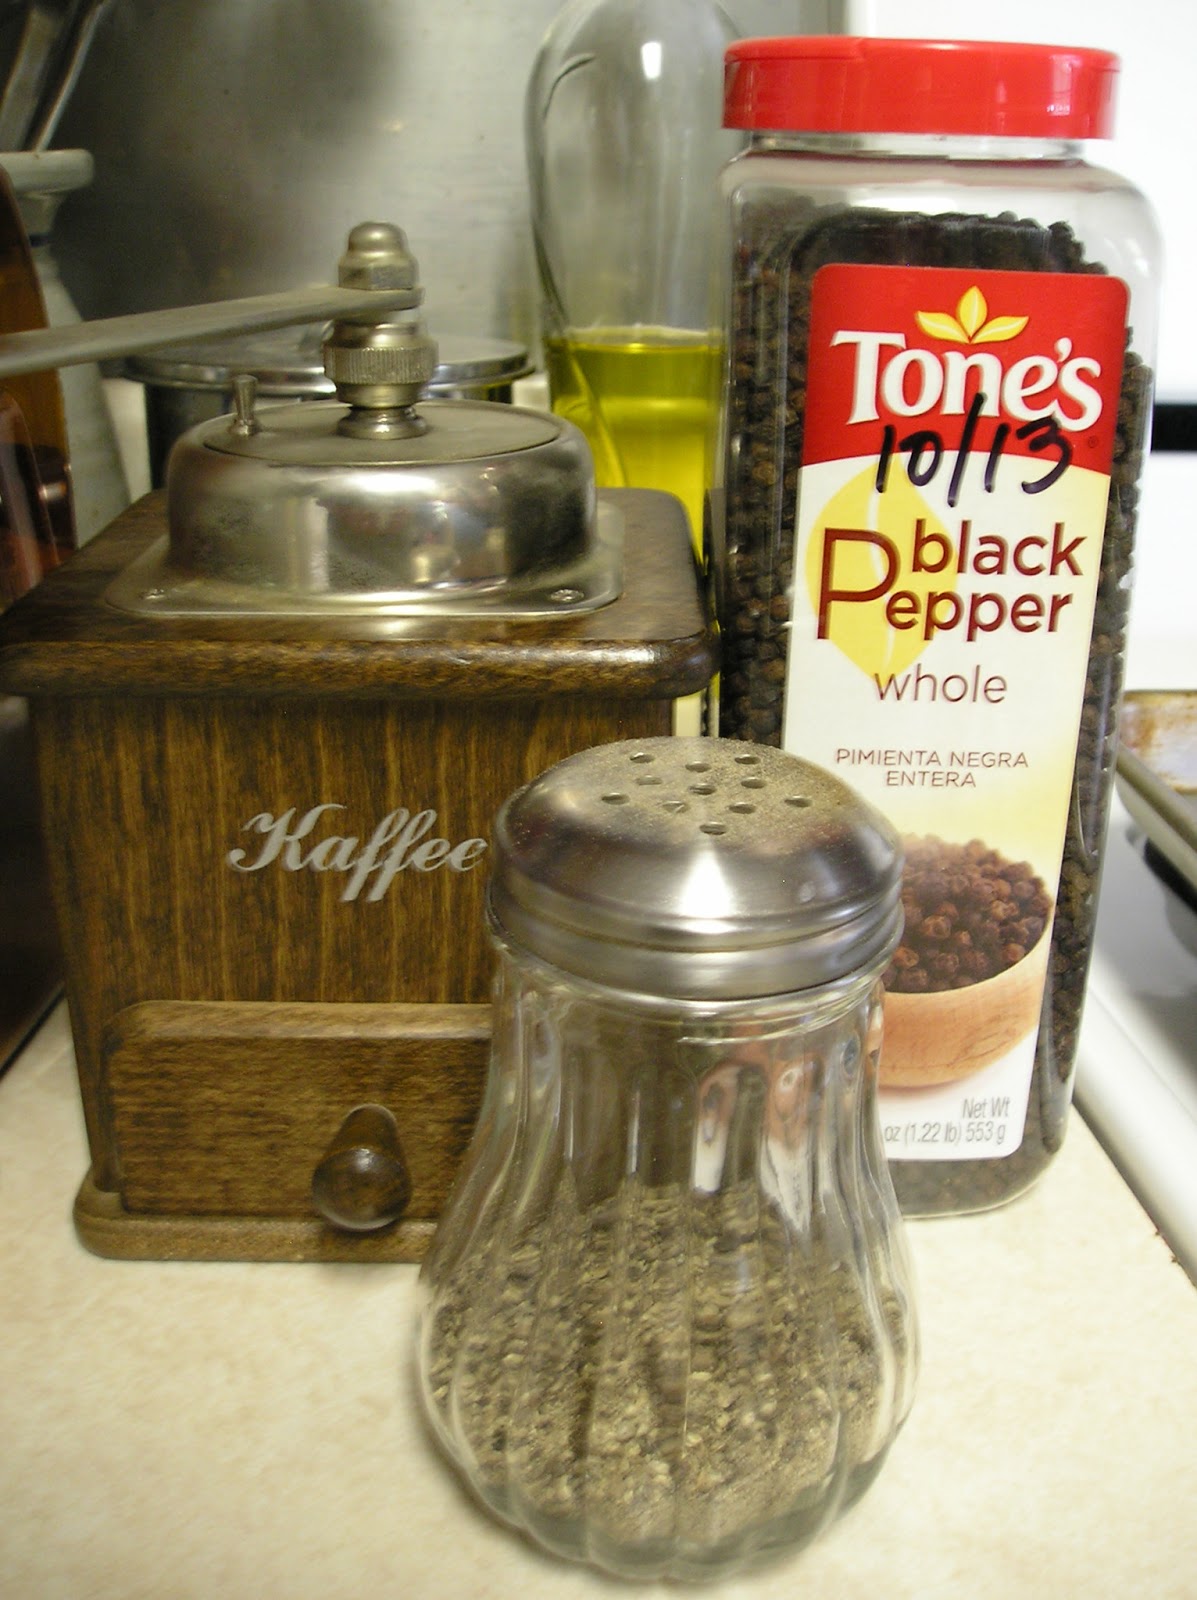
2 tbsp. whole black peppercorns
2 tsp. whole cloves
2 tsp. dill seeds
2 tsp. coriander seeds
8 bay leaves, crumbled medium
1 small dried hot pepper, chopped or crumbled fine, seeds and all

Isn't it pretty? I think so.


The nutritional content of squash surprised me. I figured it would be higher in starches, carbohydrates and calories. Of course, the way it is prepared, such as fried, will impact the caloric content, but overall, squash is a very nutritious vegetable. Here is the rundown. In one cup of raw yellow summer or zucchini squash you will find:

  • Vitamins A, C, K
  • Folate
  • Choline
  • Calcium
  • Magnesium
  • Phosphorus
  • Potassium
  • Sodium
  • Omega 3 & 6 fatty acids
  • 2 g protein
  • 4 g carbohydrates with include 2 g from sugars
  • 20 calories
Most areas of the country can grow squash in some form or fashion. Unless you are overrun with squash bugs and vine borers, it can be quite prolific, as well, yielding many pounds of produce from one single plant. There are also many different kinds of winter squashes, that keep well without canning. We will be growing some Cushaw squash for our winter keepers and I will report on their nutritional value as well.


I am learning a lot from researching the nutritional values of the things we grow in the garden. It will help us to evaluate what we grow and determine what nutrients are missing and how we can include them. Let's face it, if brussell sprouts will provide something that is missing from your food intake, but they make you gag, it doesn't really matter, does it? Finding and growing food that will help sustain us in a healthy manner, is a great learning process. Remember, life is a journey. It is the journey we learn from, or not, the choice is ours.

Until next time - Fern

Saturday, July 13, 2013

All That Cheese? Let's Make Lasagna

Lasagna is a great meal. It is fairly simple, it just takes some time to put together. Way back when I first tried making it, the recipe said to boil the noodles first which is one more step. Then on one of the lasagna noodle boxes I bought it said to put the noodles in uncooked and add 3/4 cup water as the last step. I tried it and it worked great! I have used that recipe ever since. It saves a step, time and energy. My kind of recipe.

 Ingredients

The ground meat is our chevron, the tomatoes we canned a few years ago (which need to be used up) the bowl has cottage cheese I made a few days ago, and the mozzarella we made last summer and froze.


I start out making the sauce. I make it just like I make spaghetti sauce. Start off browning the ground meat.


Add one large can of tomato sauce and one jar of canned tomatoes.


Add the spices. This will remind you of the post on making pizza.


Parsley


Oregano


Basil


Garlic


We buy dried onions in bulk, too.


Onions


Let simmer.


Grate the mozzarella. It calls for three cups, but I don't measure it anymore. This is mozzarella that we made last July. It keeps well in the freezer and since we are making more and stocking up the freezer for the coming year, I need to use up last year's cheese.


Mix two cups of the mozzarella with two cups of cottage cheese, 1/2 cup of Parmesan, and three tablespoons of parsley - more or less. 


I made this cottage cheese and it is probably the best yet....but it still isn't very good. I will post the next batch I make to show you how.


Mix the remaining mozzarella with 1/4 cup of Parmesan.  


The original recipe was enough to fill a standard 9x13 baking dish. I have one that is 10x14 (I think) that I use for most casseroles and lasagna so I can make a larger batch and freeze the extra.


The recipe calls for a layer of sauce then four noodles. I have extra room......


So I fill this space with more noodles.


Add half of the cheese mixture......


more sauce....


More noodles....


The last half of the cheese mixture (I had too much so we get to use the rest in another meal.)..........


Add the last of the sauce and the mozzarella and Parmesan mixture. See the cup of water? I have forgotten this last step more than once and ended up with kind of chewy noodles.
Pour 1/2 to 3/4 cup of water around the edge of the pan. The amount of water will depend on how 'wet' you like your lasagna. Some like it kind of oozing out and others like it to be able to 'stand' on it's own when it is cut and served. You will need to adjust to your own taste.


Cover with foil and bake for 45 minutes at 375 degrees.

Uncover and bake for 10 more minutes.


Let sit for 10 minutes before serving - well, usually. We needed to be somewhere, so I didn't let this set for very long before serving. Looks yummy, doesn't it?


When I was young and newly married, the thought of making lasagna was too intimidating. I thought it was too complicated and fancy for my abilities. When I finally got up the courage to try, it was much easier than I dreamed! I had built it up in my mind as something that was too difficult to do. 

What is it that you really want to try to do but haven't? Are you afraid you might fail? Are you limiting yourself by thinking something is beyond your capabilities? Try something new. Something you are interested in that will benefit you and your family. And after you have succeeded, and you will if you set your mind to it, share it with someone else.

Until next time - Fern


Monday, July 8, 2013

Making Pizza

We learned to make pizza from scratch when we lived in bush Alaska. There are times when you have a hankering for something that is not easy to get when you live way out in a remote area, and if you really want something, you have to make it yourself. So we did.

The pizza dough recipe came from a friend of ours that got it off of a flour sack. I still wrote it down as 'Bob's Pizza Dough' because that is where I learned to make it. I start off with the dough so it can bake for a few minutes before I add the toppings.


 2 3/4 cups flour
1 tsp. salt
2+ tbsp. olive oil
1 cup warm water
1 tbsp. sugar
2 tsp. yeast
Add flour, salt, oil & 1/2 c. water to bowl. With the remaining 1/2 c. water, add sugar & yeast, let sit.


We buy everything we can in bulk to save money. Most things we buy from a warehouse market.


The spices I buy in bulk and refill my smaller spice containers. 


We grind peppercorns in this small coffee grinder.


I really hope to can my own tomato sauce this summer. We will see how that goes.

While the yeast is softening and starting to bubble I carefully measure the spices and add them to the tomato sauce. I add this much seasoning salt....


 this much pepper......


this much oregano......


this much parsley...... 
(Frank said, "Isn't that a lot?")


this much basil.......


and this much dried minced garlic.
All precisely measured by hand. I couldn't tell you how much of anything there is....I have never had a recipe. This was another instance of making it up as you go along. I tend to do that with many things. So add whatever tastes good to you and your family. In my opinion,
the sauce makes the pizza - not enough spices and the pizza will be bland, but too much and it will be overwhelming. 

Stir up the sauce and spices and let it sit while you get everything else going.


This is ground chevron or goat meat. We butchered some of our wethers last fall.


Brown the meat, add salt and pepper to taste. Of course, you can use any meat - sausage is good too.


Preheat the oven to 425 degrees.

Now that the sauce and meat are going, add the yeast to the flour and stir it up. 

Turn out the dough onto the counter that is sprinkled with flour and knead until smooth. The dough should be a little sticky but not so much that it will stick to your finger when you poke it.

Note the date on the shortening can? It is July 2010, three years old and in excellent condition. Coat the pan you are going to use with shortening. I use a large cookie sheet. This batch will probably make two pizzas if you are using a traditional pizza pan.  

I tried rolling out the dough and transferring it to the pan once. It didn't work very well, so I just put it on the pan and work it around by hand.


Now I bake the crust for about six to eight minutes before I add the toppings. 


The meat should be about ready by now, so it is time to shred the cheese and chop the vegetables.


This is the mozzarella we made a few days ago, along with an onion from a neighbors garden, a few of our anaheim peppers and a few black olives.


Okay, the crust is ready.


Add the 

sauce......

Add the meat and veges........


Did I say we like onions and peppers? Mmmm........


Add the cheese........ 

Bake for 20-25 minutes at 425 degrees.
I have learned to lift up the pizza with a spatula and look at the bottom of the crust to make sure it is done.


This was one of the best pizzas I have made! No, really. The crust was just right, not too many spices in the sauce, fresh vegetables and fresh mozzarella cheese. It doesn't always turn out this way. And we have leftovers to eat for the next few days while we work in the garden. Life is good.

Until next time - Fern